Christmas is getting closer each day and I still haven’t made enough cards to give out!
And so last weekend, I took out my stash for homemade holiday cards and came up with these easy Christmas card ideas using Stampin’ Up! materials.
These DIY Xmas cards are simple and quick to make as they don’t involve a lot of colouring or complex techniques.
Contents
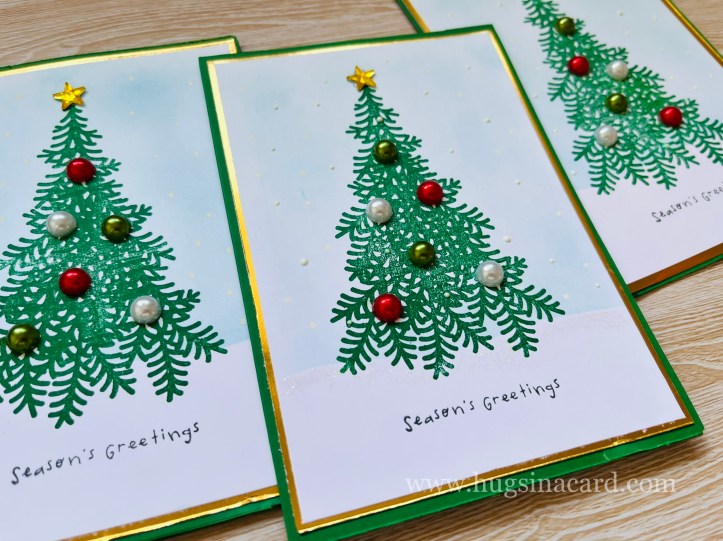


Handmade Card #1: Christmas Tree Stamped Image
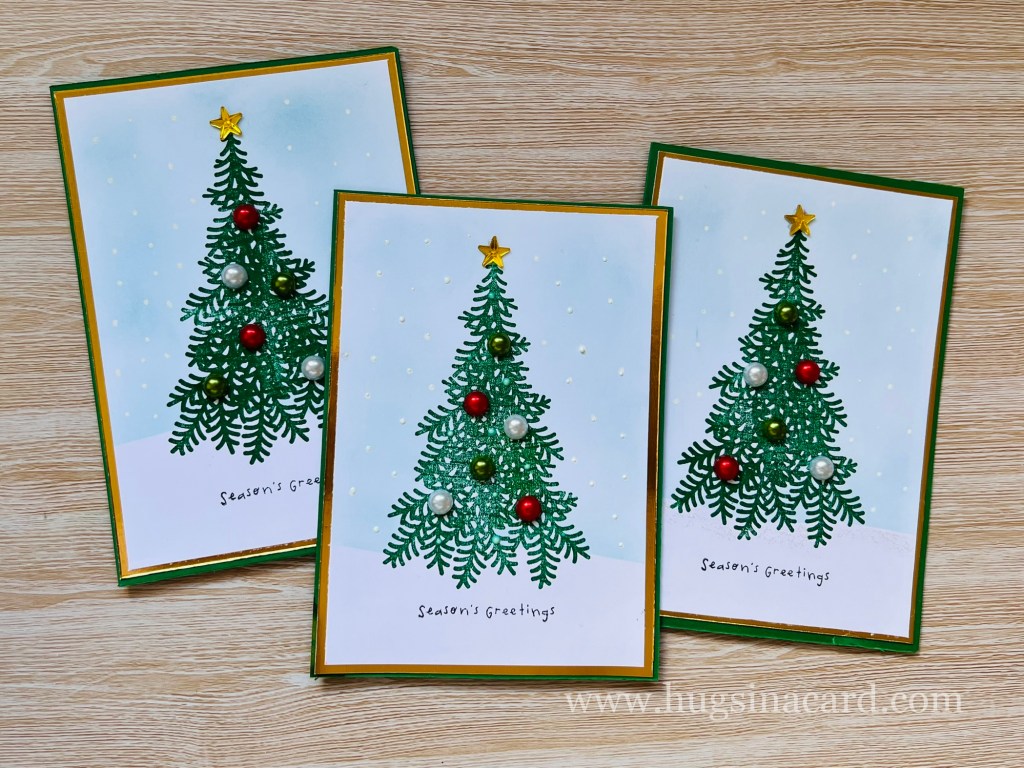
For this card, I used the Christmas Tree image from Stampin’ Up! – Ready for Christmas bundle. Sadly, this beautiful bundle is already a retired product. You may use the Whimsical Trees Cling Stamp Set from Stampin’ Up! as a replacement.

DIY Card Making Tools and Supplies:
- Dark green A6 card base. An A6 card base is 10.5 x 14.8 cm.
- Metallic gold card stock. Take off 2 cm on each side of the gold cardstock so that it’s slightly smaller than A6.
- White cardstock (Neenah Solar White). Take off 4 cm on each side of the white cardstock so that it’s slightly smaller than the gold cardstock.
- Balmy Blue ink pad from Stampin’ Up! for the sky-blue background
- Blending brush to create the sky-blue background
- Shaded Spruce ink pad from Stampin’ Up! to stamp the Christmas tree image
- Hello Bluebird – O Christmas Tree stamp set for the sentiment. I used Black Tuxedo Memento ink pad to stamp it onto the bottom of the front panel.
- Embellishments from my stash. I bought the star and baubles from the Dollar Store.
- Adhesives (liquid glue or double-sided tape)
- White gel pen for the falling snow effect (optional)
How to Make This Christmas Card:
- Stamp the image of the Christmas tree on the centre of the white cardstock. Leave some space for the sentiment at the bottom.
- Using the blending brush, apply the balmy blue ink on the background. I used a scrap paper to cover the bottom area of the Christmas tree. I left this area white to appear as snow-covered ground.
- Stamp the sentiment at the bottom. I think this sentiment was perfect for the card, but you may choose another sentiment from your existing stash. I just preferred a tiny message to keep the focus on the Christmas tree. 😊
- Add your embellishments on the Christmas tree and your front panel is done!
- You may add falling snow if you like. I added some on mine, although the effect was very subtle so you can hardly see it in the picture.
- Using your preferred adhesive, stick the panel on the gold cardstock. Attach it onto the front of your card base.
- Use a white cardstock for the inside of the card where you can write your personal message.

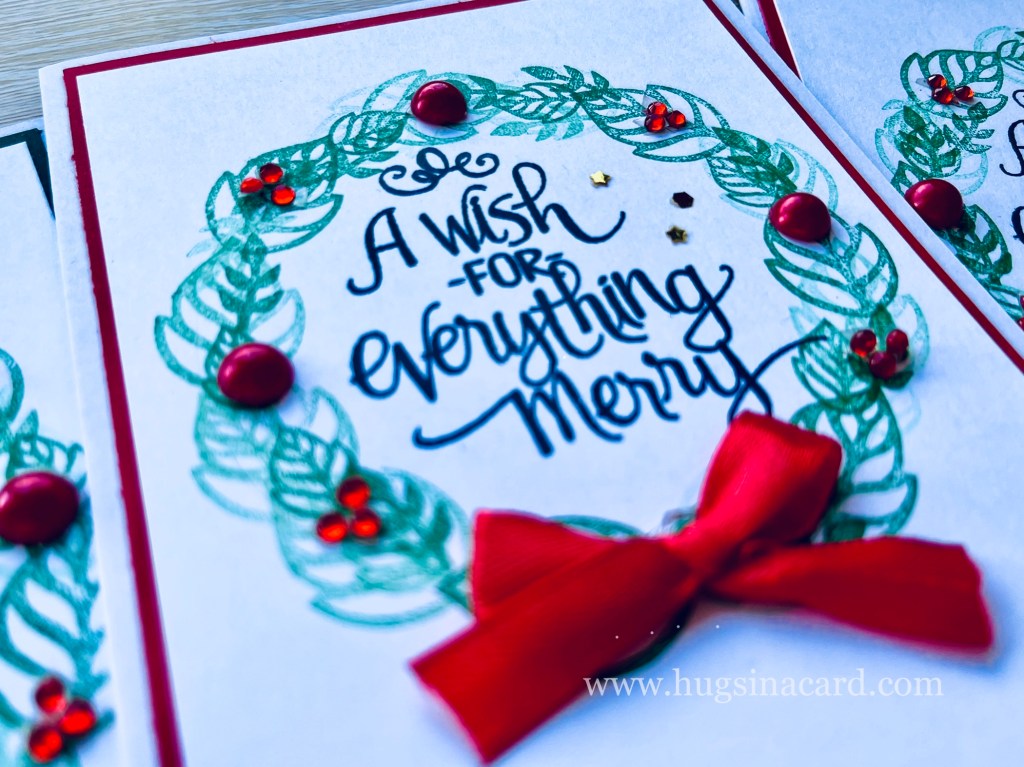
Handmade Card #2: Christmas Wreath Stamped Leaves
This second design is more versatile.
Any stamp set that has leaves would do. If you have a Christmas-themed stamp set with leaves, that works best but I just used regular leaf images and it still worked well.

DIY Card Making Tools and Supplies:
- White A6 card base
- Dark green/red cardstock (your choice). Take off 2 cm on each side so that it’s slightly smaller than A6.
- White cardstock (Neenah Solar White). Take off 4 cm on each side of the white cardstock so that it’s slightly smaller than the gold cardstock.
- A round object for tracing. Choose a size that fits well in front of the card.
- Ribbon and embellishments
- Adhesives (liquid glue or double-sided tape and glue dots)
- Shaded Spruce ink pad from Stampin’ Up!
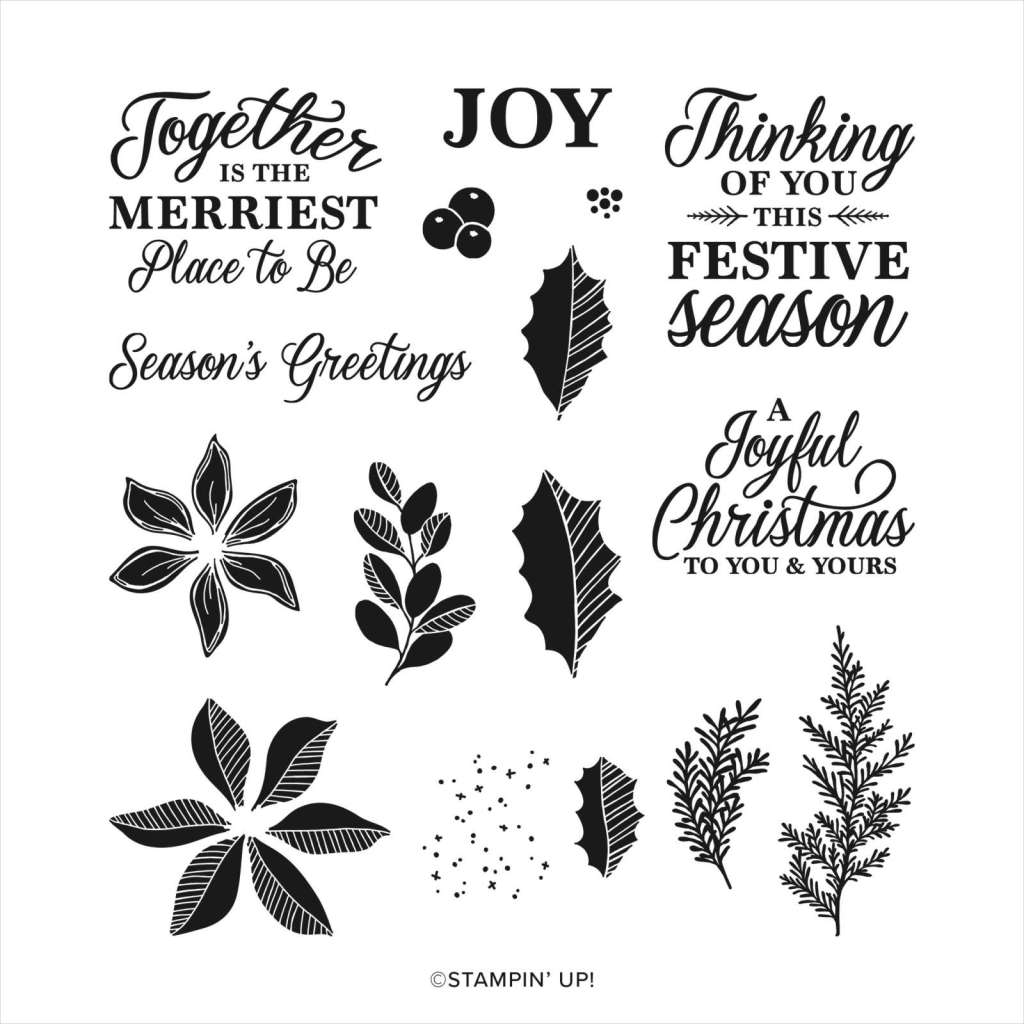
- Leaf images from Stampin’ Up! Soft Sayings Card Kit (this kit is a retired product but you can also use the leaf images from Merriest Moments stamp set)
- The sentiment is also from Stampin’ Up! – Ready for Christmas bundle. I used Black Tuxedo Memento ink pad to stamp it onto the bottom of the front panel. You can choose your own sentiment too if you don’t have this stamp set.
How to Make This Xmas Card:
- Trace a circle at the centre of the white cardstock very lightly with a pencil. This serves as your guide on where to stamp the leaves.
- Using the Shaded Spruce ink and an acrylic block, start stamping around the circle with the largest leaf. Try to stamp the images with different intensities, so some of the leaves will appear lighter than the others.
- Continue stamping around the circle with the other leaves until it starts to look like a wreath.
- Once you’re satisfied with the stamped wreath, add the sentiment inside the circle. The sentiment I used from the Ready for Christmas stamp set was the perfect size so it was a bonus.
- Complete your Christmas wreath by adding the bow and embellishments.
- Stick the panel on the green cardstock – for outline, and finally, stick the whole design on the card base.
If you don’t have a sentiment that fits inside the circle, you can use tiny images instead, such as a snowman, squirrels, house, etc. Add a tiny sentiment above the tiny image you used or you can also add the sentiment below the wreath.
The only disadvantage with using an image is that you also need to color it. This takes more time to make. But if you can find images that you don’t need to color, then that works perfectly!
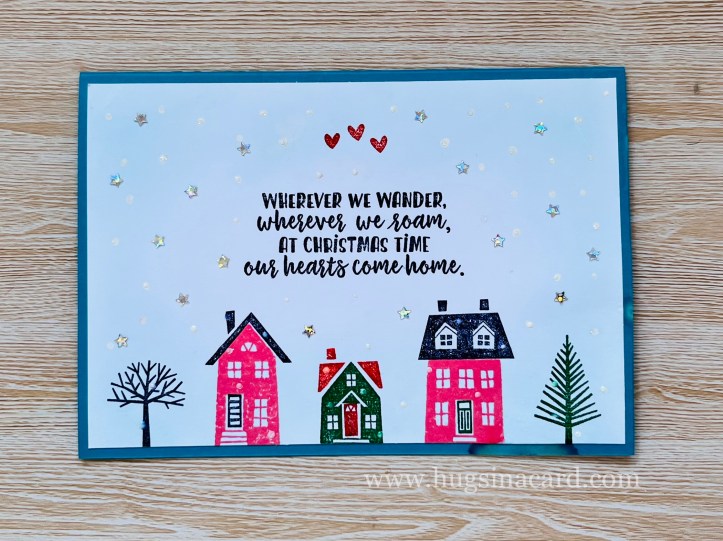
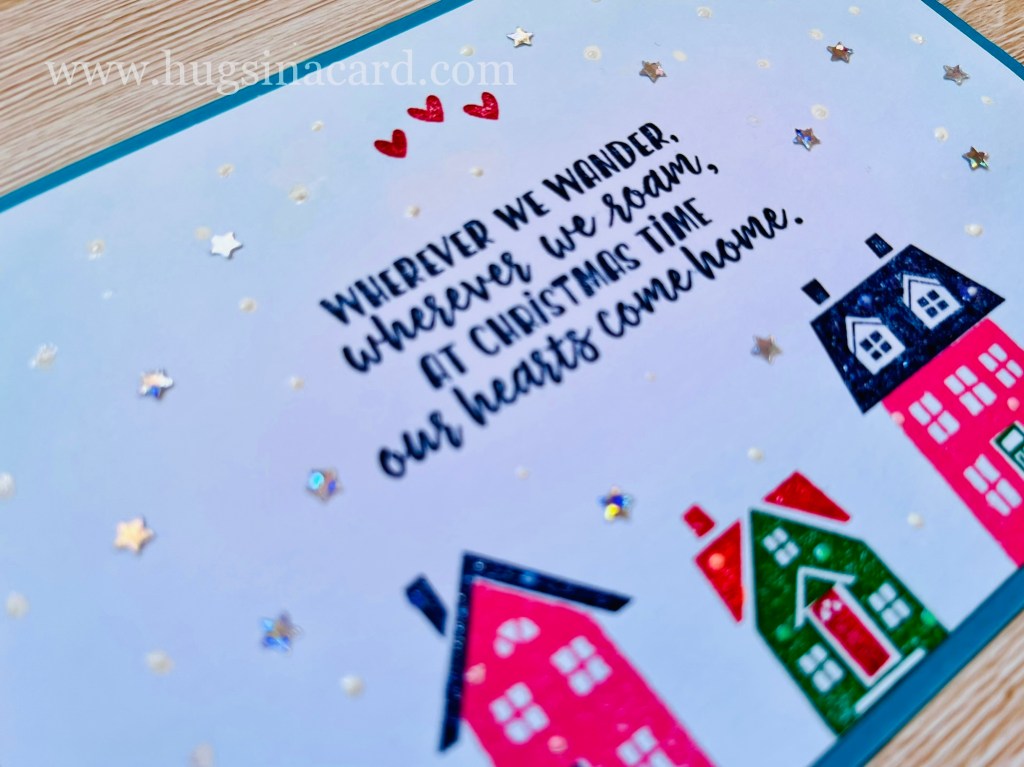
Handmade Card #3: Home for Christmas Card
Third one on the list is the Home for Christmas Cards wherein I used the house images from the Stampin’ Up! From Our House to Yours set.

DIY Card Making Tools and Supplies:
- Teal/aqua A6 card base
- White cardstock (Neenah Solar White) – 2cm smaller than A6 on all sides
- Stamping tool – positioner.
- Balmy Blue ink pad from Stampin’ Up! for the sky-blue background
- Blending brush
- Different colored ink pads
- Embellishments from my stash
- Adhesives (liquid glue or double-sided tape and glue dots)
- House images and sentiment from the Stampin’ Up! – From Our House to Yours set.
How to Make This Christmas Card:
- Create the sky-blue background by applying some balmy blue ink using the blending brush.
- Position the parts of the houses, trees, and sentiments on the stamping tool. I had to position the cardstock twice in my stamping tool so that I could use different inks for the doors and roofs.
- For embellishments, I added some falling snow effect as well as tiny silver sequins as snowflakes.
- Secure your front panel on the card base.
- Add a white cardstock inside where you can write your message down since this design uses a dark-coloured cardstock.
The colors I used for the images were:
- Worn Lipstick (Distress Ink)
- Shaded Spruce (Stampin’ Up!)
- Night of Navy (Stampin’ Up!)
- Real Red (Stampin’ Up!)
From Our House to Yours is a retired product. Currently, there are no equivalent stamp sets in Stampin’ Up! that feature houses however, this design will also work well with Stampin’ Up!’s Penguin Palace Stamp Set.

Handmade Card #4: Sentiments on Die Cut Frames and Designer Paper
For this fourth design, you can be as versatile as you want. You can use patterned papers of your choice or even beautiful wrapping papers. Gift wrappers are everywhere especially these days when the holiday season is fast approaching.
After you have wrapped up your gifts for loved ones, don’t throw away those excess papers just yet! Turn them into lovely Christmas cards instead.

DIY Card Making Tools and Supplies:
- A6 card base (depending on the color of your patterned paper or gift wrapping paper)
- Patterned paper or gift wrapping paper
- Ribbons and embellishments
- Gold cardstock for accents (optional)
- Piece of white or light coloured cardstock
- Adhesives (liquid glue or double-sided tape and glue dots)
- Any stamp set with large sentiments

How to Make This Christmas Card:
- Cut size A5 piece from the patterned paper or wrapping paper. You can also choose to cut it smaller to leave outlines on all sides.
- Attach the patterned paper or wrapping paper on the A6 card base.
- Cut a piece of your matching ribbon and attach it on the front panel about 1 inch from the bottom.
- With the piece of light coloured cardstock, cut a frame using a die cut and a die cut machine if you have one, or just trace the frame of your choice and cut using scissors.
- For accents, I used gold cardstock on the frames.
- Stamp the large sentiment on the frame.
- Add embellishments such as a bow and some rhinestones.
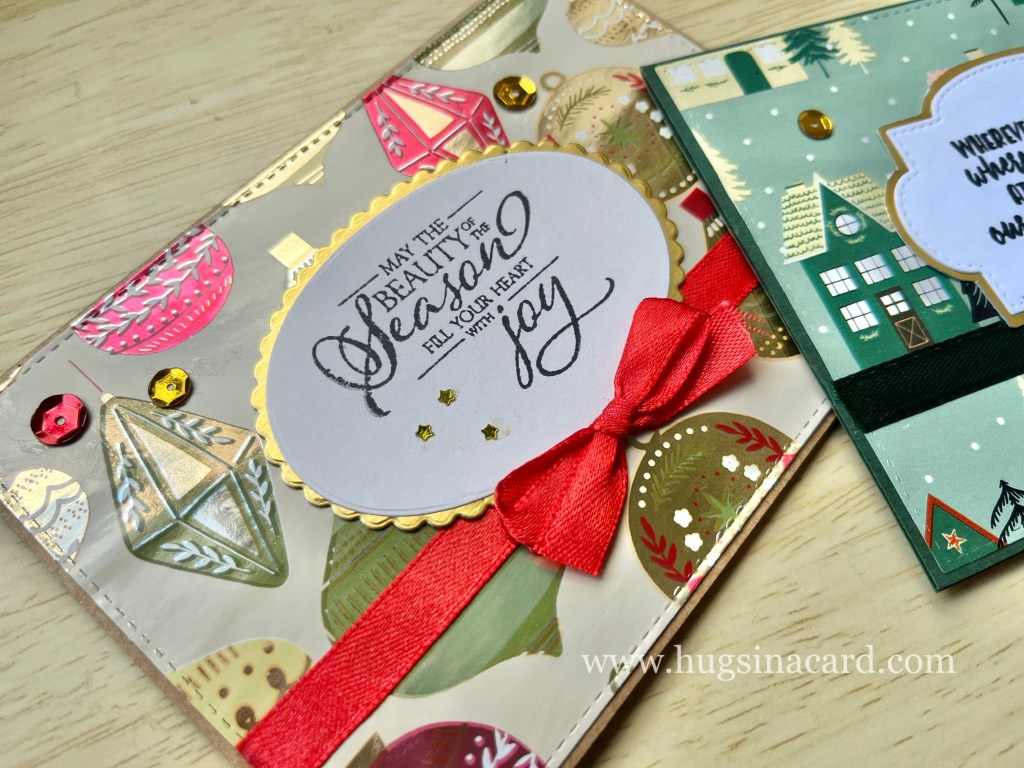
Some patterned papers already have a sentiment on them so you basically just stick it on your card base. You can use glitter glue or Nuvo Drops to accentuate the designs from your patterned papers, such as the card I made below.
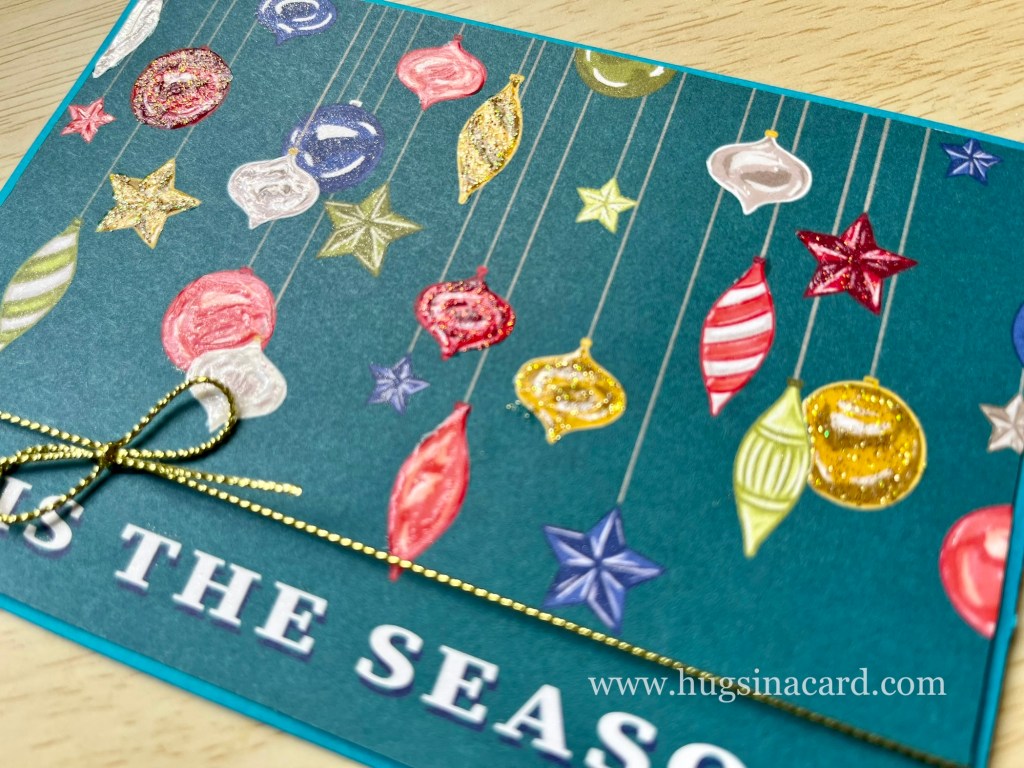
These designs are really quick you can easily make a dozen in just half an hour! If you’re pushed on time and still have a lot of people on your Christmas list, then you definitely should try these ideas.
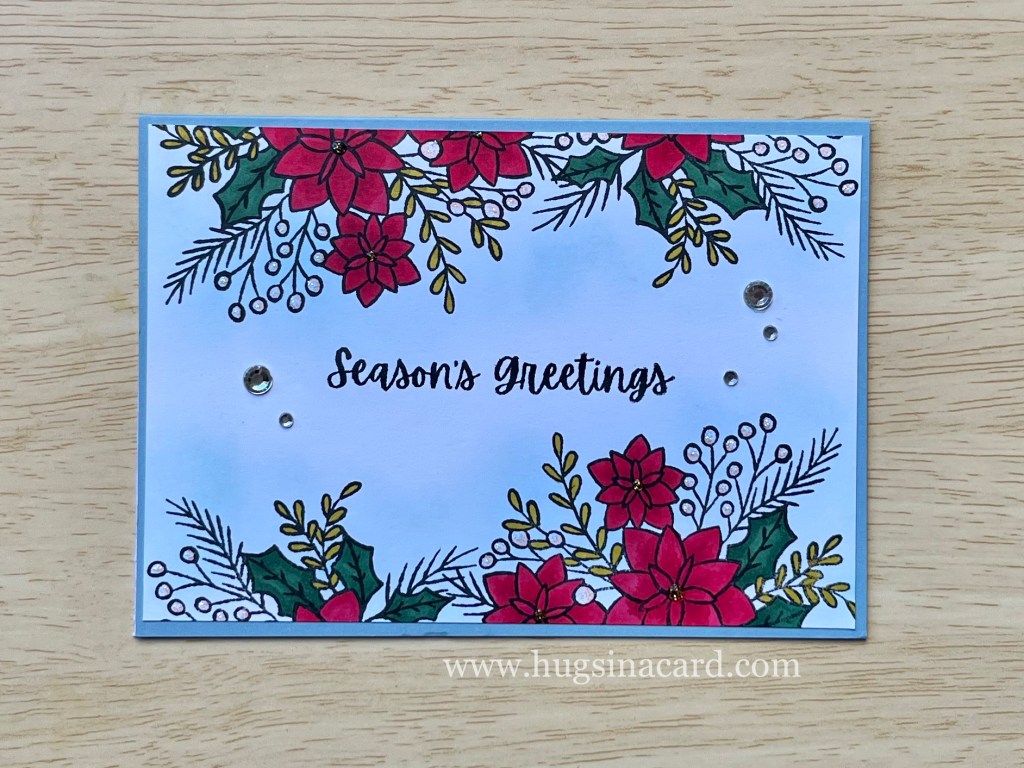
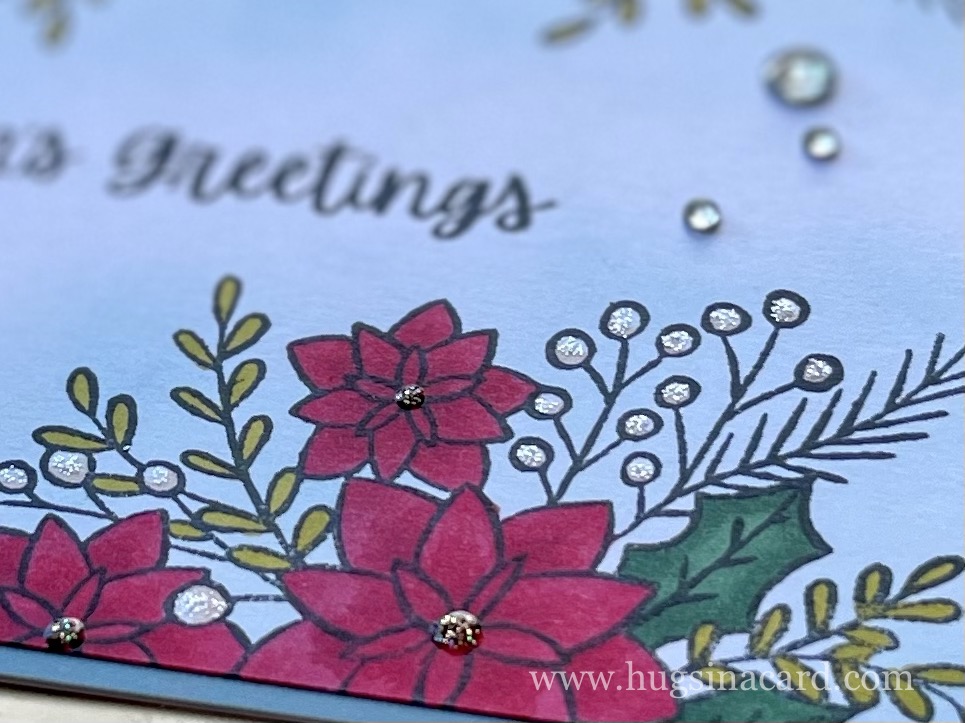
Handmade Card #5: Stamped Edge Christmas Poinsettia
Words of Cheer from Stampin’ Up! has this beautiful image of a big poinsettia flower. It’s big enough to fill the whole front of your card but I decided to stamp it along the edges instead.
DIY Card Making Tools and Supplies:
- A6 card base cut from Pool Party cardstock from Stampin’ Up!
- White cardstock 4 cm shorter on each side than A5.
- Words of Cheer Stamp set from Stampin’ Up!
- Alcohol ink markers (Real Red, Shaded Spruce, Old Olive)
- Balmy Blue ink pad
- Blending brush
- Nuvo drops or glitter glue for accents
- Adhesives
How to Make This Christmas Card:
- Stamp the poinsettia image from Words of Cheer Stamp set along the edges. I stamped it 4 times. Leave a space for the sentiment in the middle.
- Colour the images using alcohol ink markers.
- Using a blending brush, apply a bit of balmy blue ink on the edges of the images.
- Attach the finished panel on your card base.
- Add accents using Nuvo drops or glitter glues and embellishments.
Do you want to be one of our lucky Hugs in a Card happy mail recipients? Each month, I send out a FREE handmade card to some of my readers as a way of saying thank you and giving back. Click here to find out more!

One thought on “5 Easy Christmas Card Ideas: Stampin’ Up! Designs for DIY Xmas Card Making”