I love all sort of things creative and have tried a lot of arts and crafts before like bracelet wristwatches, crochet bags, sewing and even baking!
But I discovered that card making is the most enjoyable hobby for me because it is practicable. Plus, it allows me to reach out to people in my own introvert way.
When I was just starting, I didn’t have a clue how to make my own cards. It was hard to choose which materials to buy first without getting overwhelmed at how much I had to spend.
So, I’m sharing some card making tips and a list of basic tools and supplies that might be helpful to beginners in card making like me. Plus, you can download this checklist and fill it out as you read on.
TABLE OF CONTENTS
Card Making Tools and Materials You Need
- White Cardstock
- Paper Trimmer
- Bone Folder
- Adhesives
- Scissors
- Black Ink Pad
- Acrylic Blocks
- Colouring Tools
- Stamp Set
Card Making Tools and Materials You Need
White Cardstock
This is on top of my list for a reason – a white cardstock serves as the card base itself and for me, it’s the heart and soul of cardmaking.
The texture of a cardstock will have a big impact on your stamping and colouring therefore it is important to find one with a smooth quality.
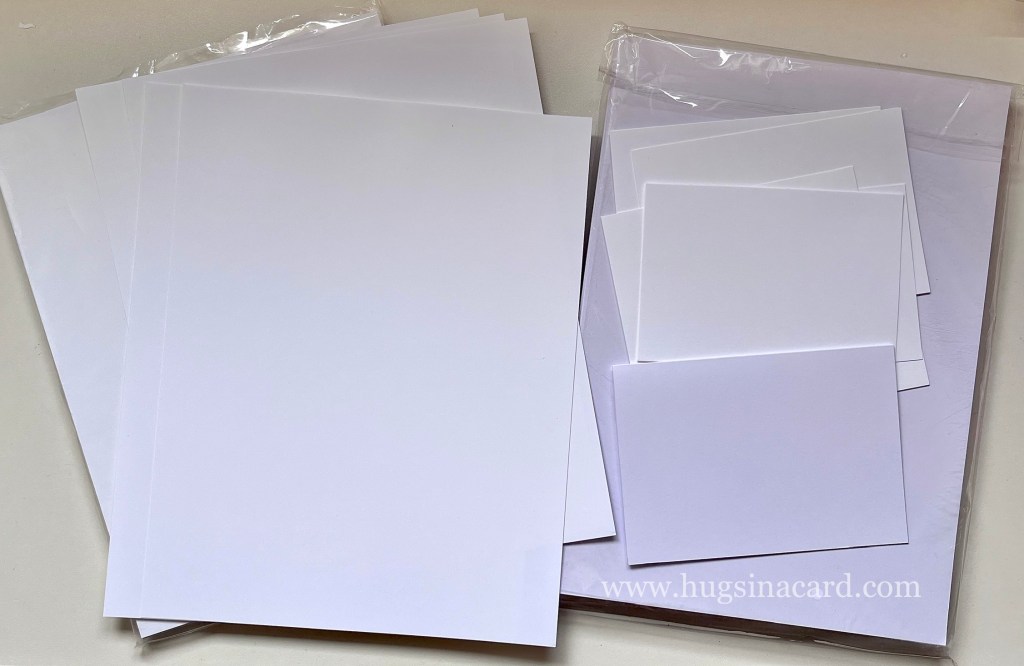
Ideally, the cardstock must also have a weight of at least 200-240 gsm to be just thick enough.
For Australians, I recommend Stampin’ Up!’s Basic White A4 Cardstock. A pack of 40 sheets A4 sized cardstocks costs only $17.
However, if you prefer using a Letter sized cardstock (8.5 x 11 inches), I recommend using Neenah Classic Crest Solar White Cardstock. A pack of 50 sheets costs about $17.99.
Paper Trimmer
A card base is basically half of an A4 or Letter sized cardstock folded in the middle. When you are making your own cards, you’ll frequently need to cut your cardstocks into 2.
A paper trimmer is a basic tool in cardmaking that not only cuts your cardstock straight. It also makes the task quick and clean which a pair of scissors or a box cutter can’t do.
A guillotine card trimmer is more handy, but you may not find it the safest option especially when you have kids at home. In that case, a rotary trimmer will be the next best thing.
Some paper trimmers can be really expensive but if you’re just a beginner or on a budget, you can start with this $10 paper trimmer from Kmart.
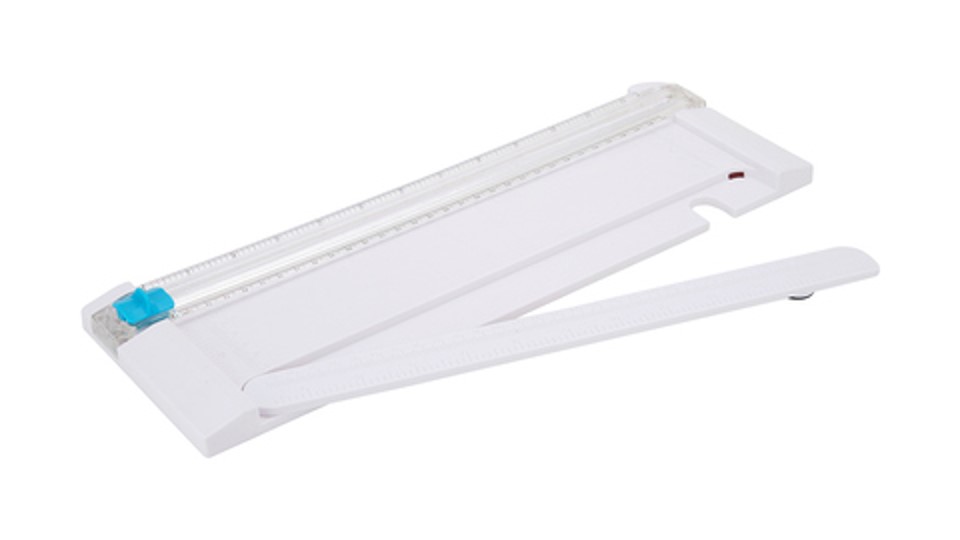
When choosing a paper trimmer, make sure that it is big enough to cut an A4 or Letter sized cardstock. The only downside with the cheap ones is that they don’t usually have replacement blades so once they become dull, you’ll be throwing away the whole unit.
I got mine from Aldi for $15 only which came with 3 blades. I’ve been using it for more than 2 years now and so far, I have not needed a blade replacement ever since.
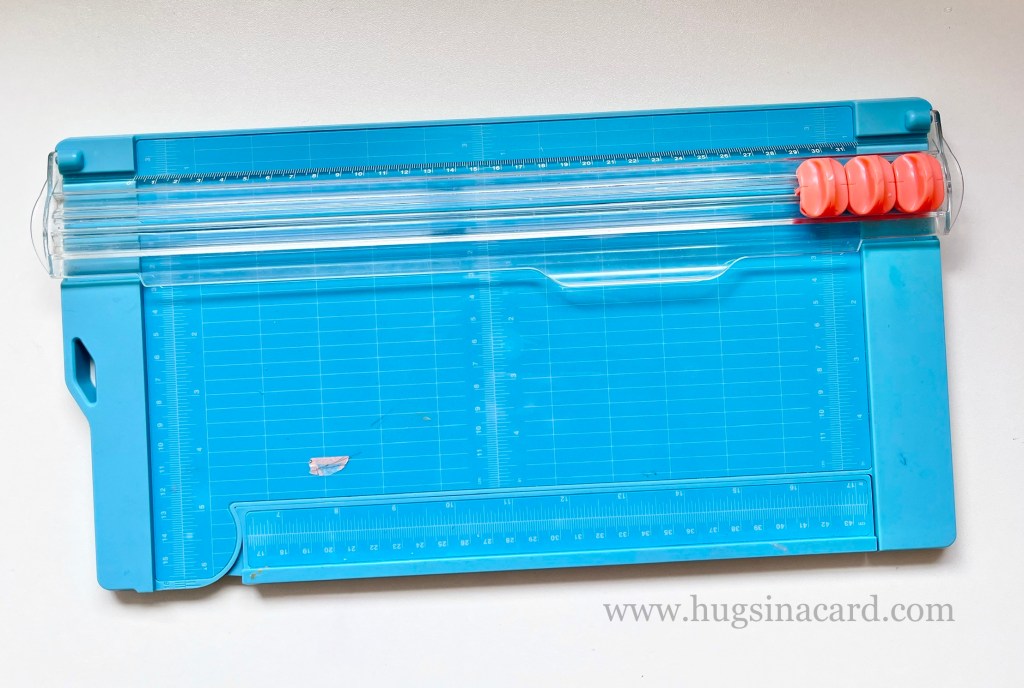
If you feel like investing a bit, Stampin’ Up! has a reasonably priced quality Paper Trimmer for only $44. It already comes with 2 blades and replacement blades are available too.
Bone Folder
A bone folder is an important tool for scoring and making nice crisp folds on paper and cardstock. It’s usually paired with a scoring tool but not necessary. I score my cardstocks using my paper trimmer and it works out just fine.
Bone folders are usually cheap such as this Scoring Tool Set 2 Pack from Multicrafts Imports for only $5.99.

Adhesives
As a beginner, I find Tombow Multipurpose Liquid glue to be sufficient for most of my projects. It has a fine tip for adhering small embellishments and a strong bond that dries clear.
A tiny dot of glue already adheres solidly so a tiny bottle costing $7 can last for more than a year.

Foam adhesives are also great but not necessary. Adding depth and dimension to your cardmaking projects can make a huge difference and if you want to try it out, I recommend Stampin’ Dimensionals. It’s only $6 and contains 300 pieces of 1cm hexagonal foam adhesives.
Or you can also look around Dollar Stores, and if you’re lucky, you’ll find a set for only $3.
Scissors
You probably already have this in your stash but when you’re making cards, you’ll need a pair of scissors that has a fine tip and can cut even the smallest areas.
I have invested on this one because I like using small images on my cards. This Paper Snips Scissors are so worth it. You might think it’s overpriced at $17 for such a tiny thing but I’ve been using these scissors for more than 3 years now and it’s still sharp as ever.

In saying that, I also keep a regular pair on my desk for cutting adhesives. As a word of caution, try not to use the Paper Snips on hard or sticky objects if you want to keep it sharp for a longer time.
Black Ink Pad
As a beginner, I didn’t have much idea what to use before and searching the internet did not help either. Some inks are compatible with alcohol inks but would bleed with watercolour while other inks are compatible with watercolour but not alcohol markers. It was confusing which one to choose.
Memento Tuxedo Black Ink Pad for me is the best go-to black ink pad. I use it for both alcohol inks and watercolour and so far, have not encountered issues.
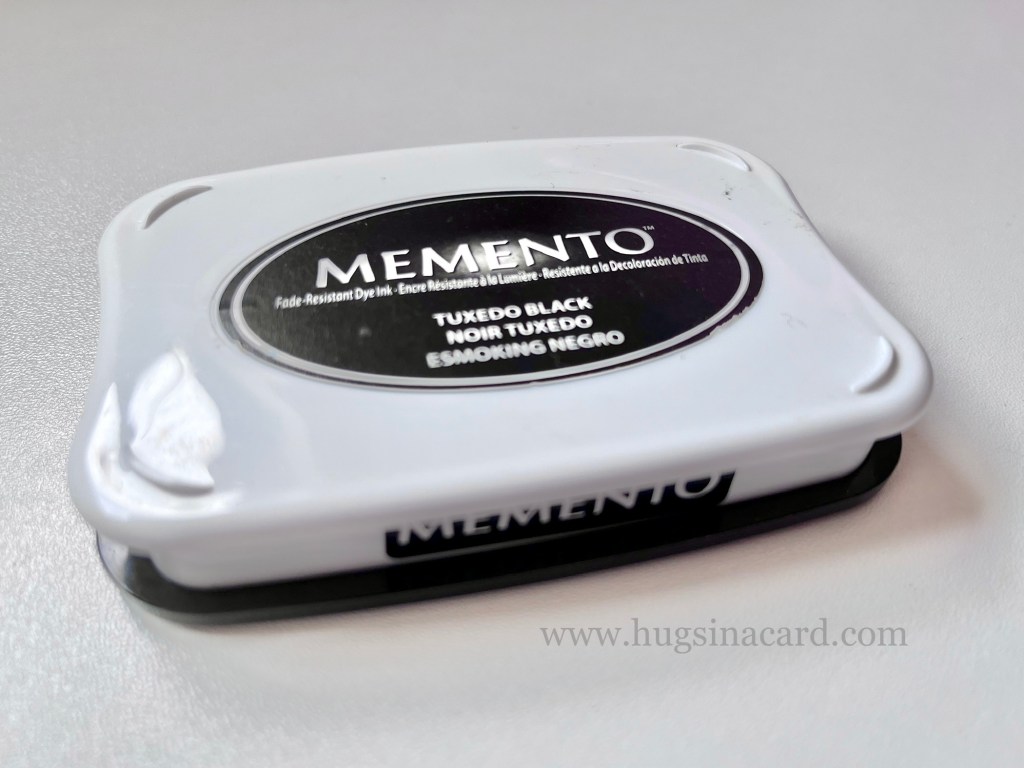
Memento Ink Pads are recommended for alcohol ink markers, but I use it with watercolours just the same. I stamp ahead the images I want to colour and let the ink set in the paper first so the black ink does not bleed.
Acrylic Blocks
An acrylic block is a must have for stampers. It is designed for use with cling stamps and photopolymers and are clear so you can accurately position the images you want to stamp on your cardstock.
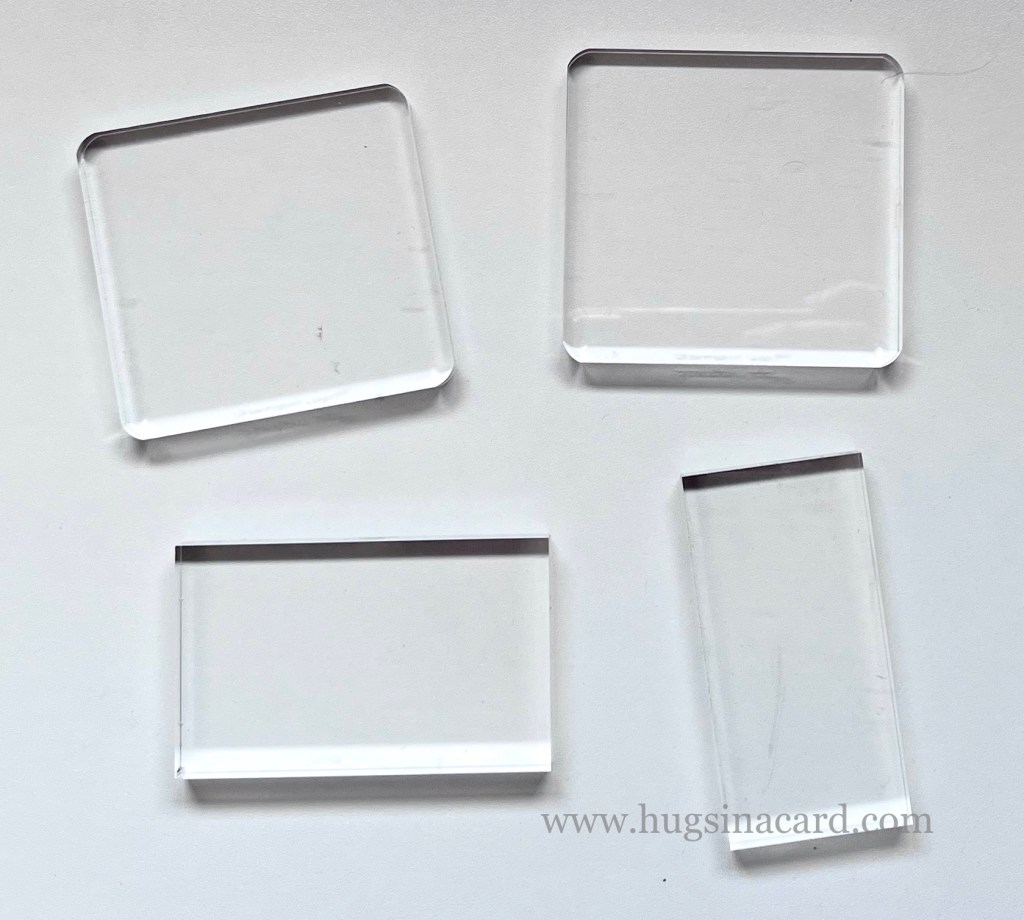
Universal Crafts Acrylic Blocks is only $23 for a set of 3 pieces with different sizes, the largest size being 6.5 x 4 inches. This is enough to cover the front of a standard sized card base so you can use this for big images or sentiments.
Each acrylic block also has grids to help ensure straight placements.
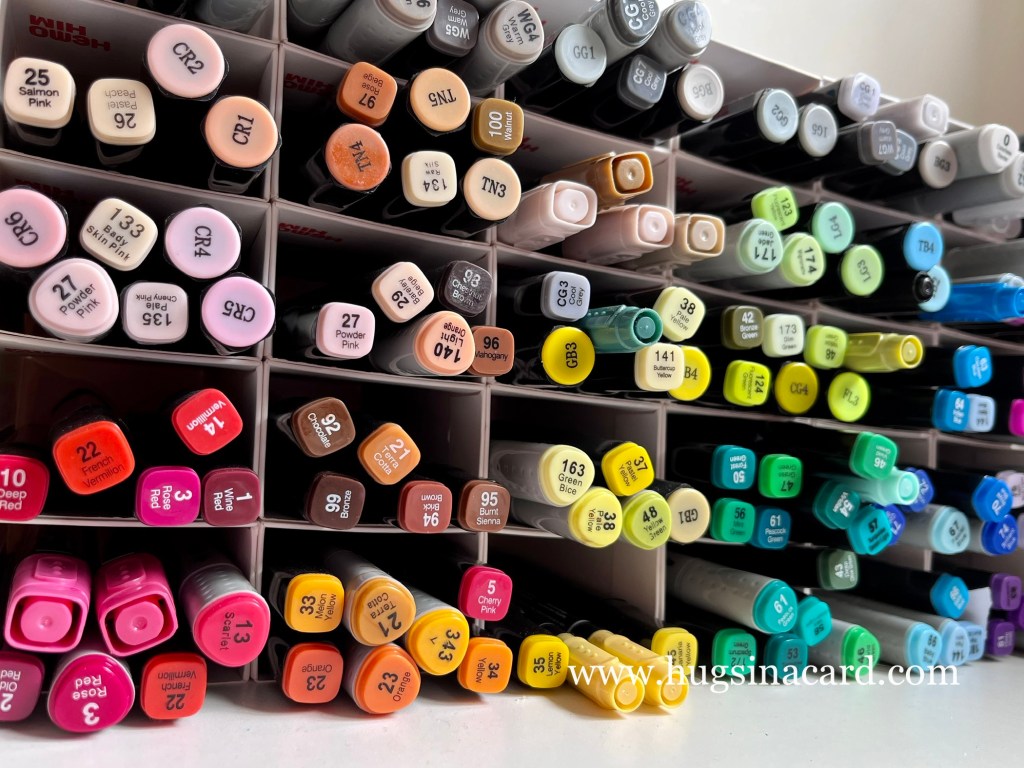
Colouring Tools
As a beginner, I was so fascinated with alcohol ink markers and I couldn’t wait to try them out on my projects. But most alcohol ink markers are expensive.
You might be tempted to buy cheap ones that come in sets, but I don’t recommend it. If you want to know why, I will explain on another post.
For now, if you’re not sure which colours to use in your project, you can start with this $27 set of watercolour pencils. It’s a more versatile and inexpensive option for beginners and is usually best for pastel or soft colour themes.
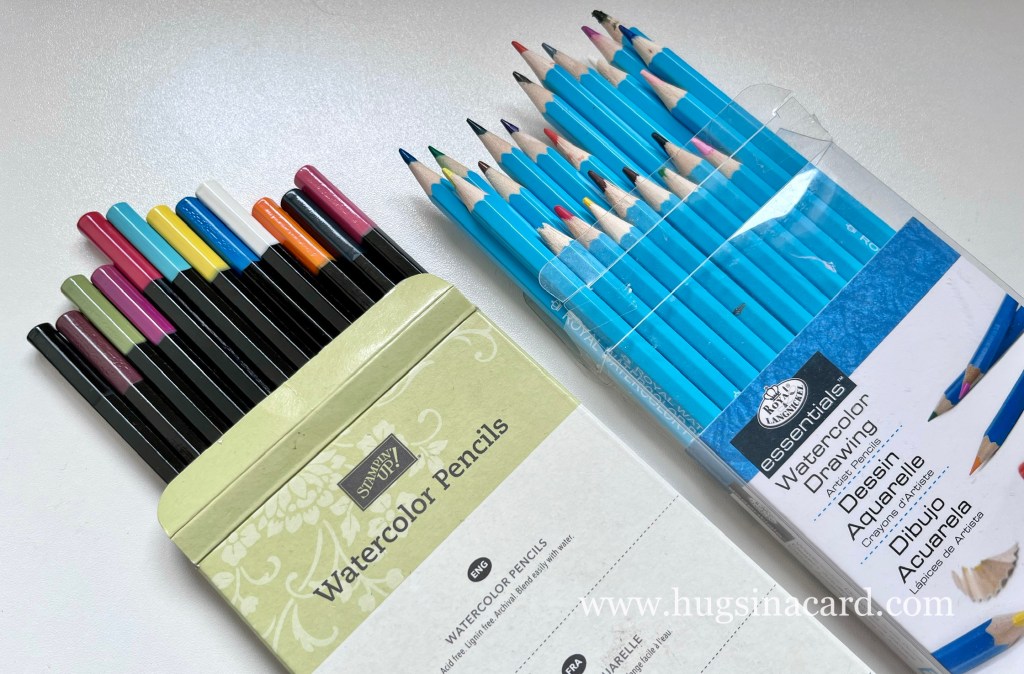
I also use Royal & Langnickel Watercolour Pencils and I don’t have any negative feedback. For its price, the set is doing a decent job and this one from Officeworks is only $5 for 13 pieces.
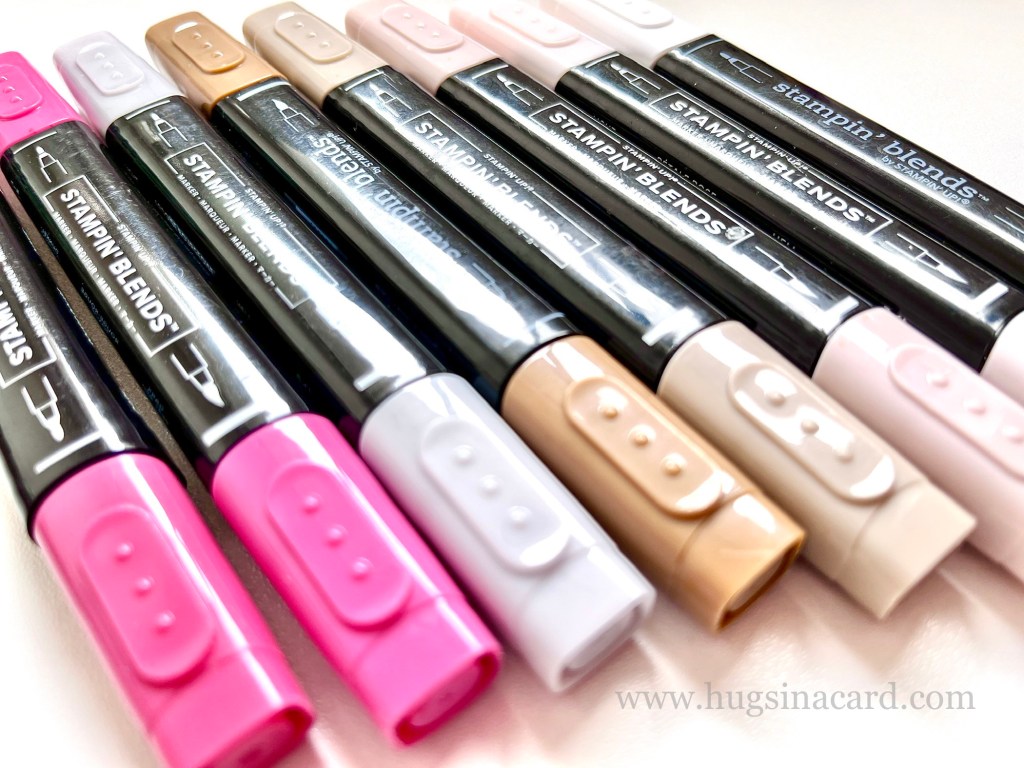
But if you are desperate to try alcohol ink markers (as I was in the beginning), you can build your collection little by little. Copic markers are most popular (about $8.99 each) but I also like the Stampin’ Blends (comes in a set of light and dark shade for $15.50).
Stamp Set
As a beginner, you won’t have a stash of different coloured ink pads yet so try to choose a stamp set that has images you can colour with your existing tools.
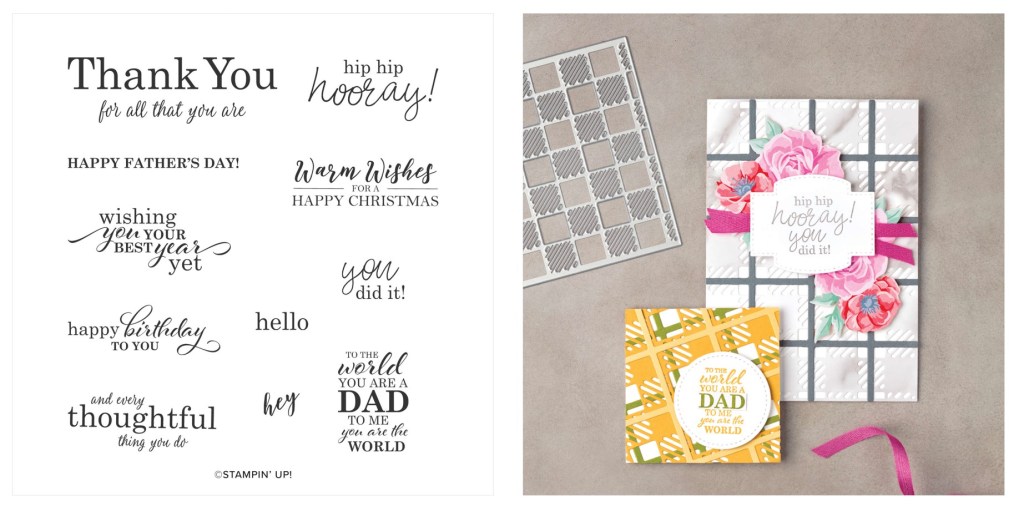
For example, Words of Cheer Stamp Set allows you to complete a project just with this stamp set alone. It has an image you can colour, which is big enough to fill up the front of your card, and has several sentiments you can choose from.
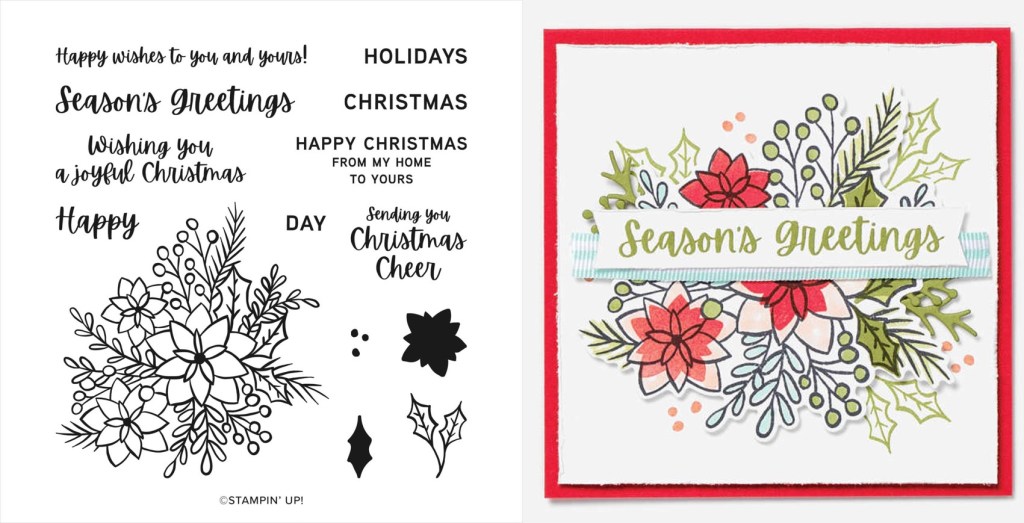
Choosing your stamp set ahead will give you an idea which colours to use, in this case, red and green. If you choose to colour with alcohol ink markers, then you can get the Real Red and Mossy Meadow Stampin’ Blends Pack.
Card Making Techniques
The techniques you’ll use will vary depending on your preference. If you’re not a fan of colouring, consider using patterned papers when making your own cards.
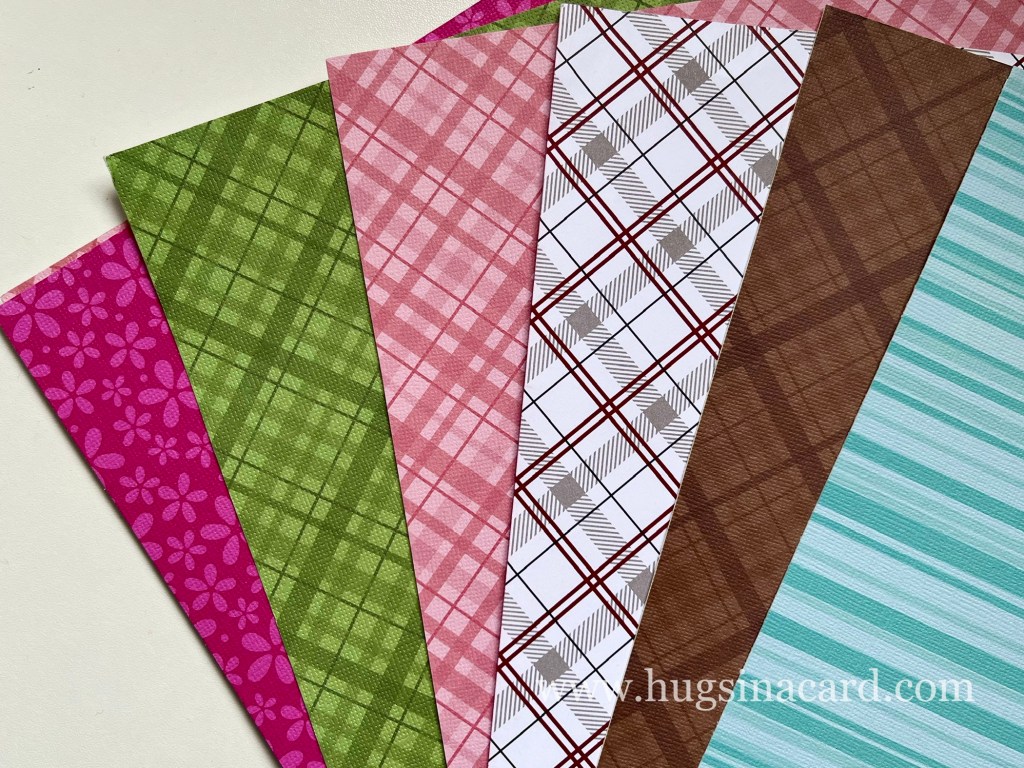
Patterned papers are usually sold in packs with a colour theme so just pick the same colours as the papers when choosing your embellishments.
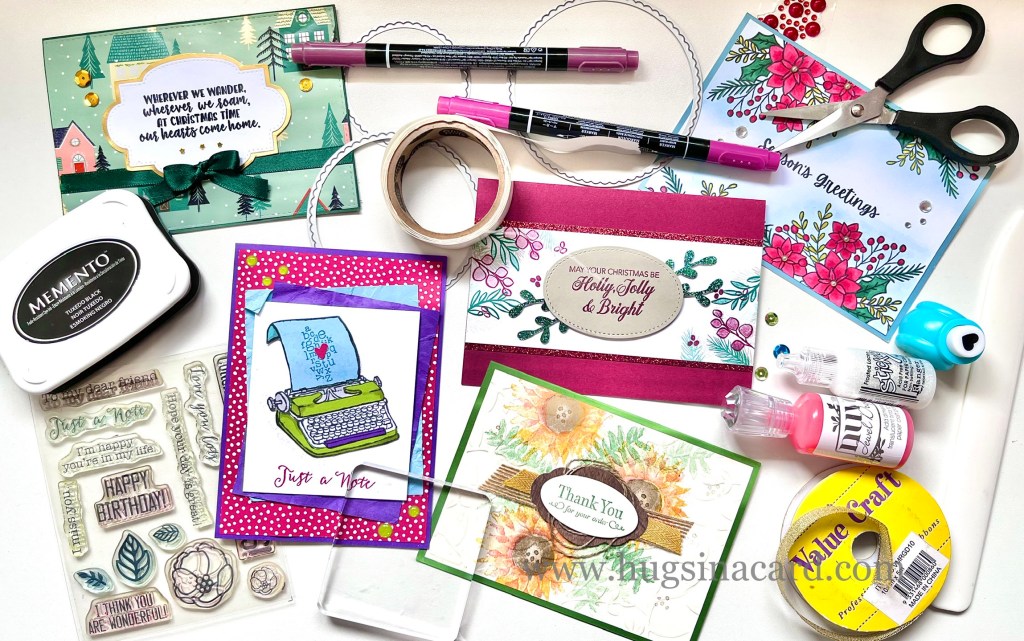
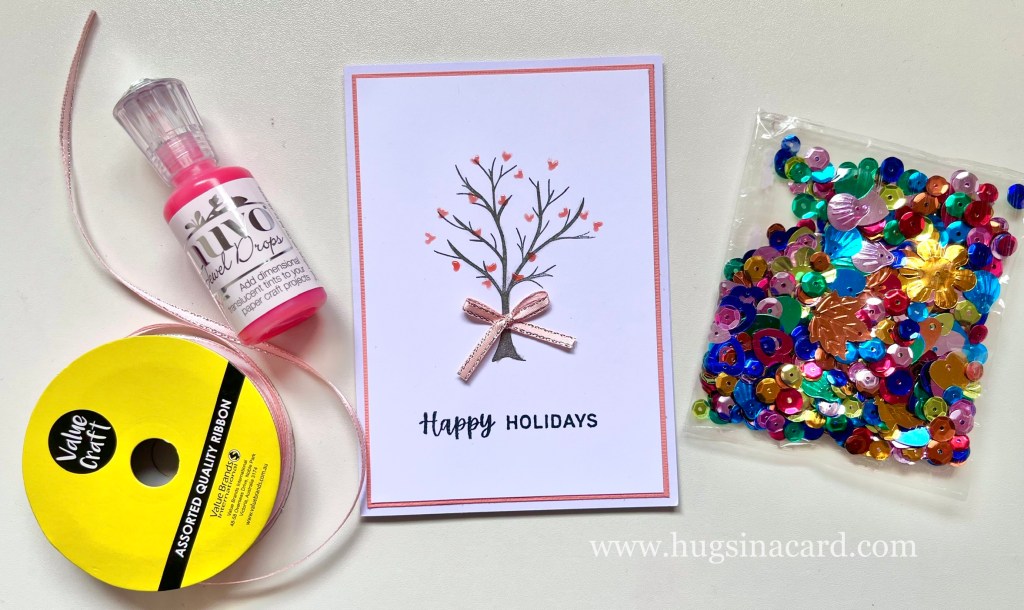
Ribbons, sequins, and rhinestones are great embellishments when making your own card. You can also use Nuvo Drops or a pack of 3D Liquid Pearls to create dots and shapes for your handmade cards
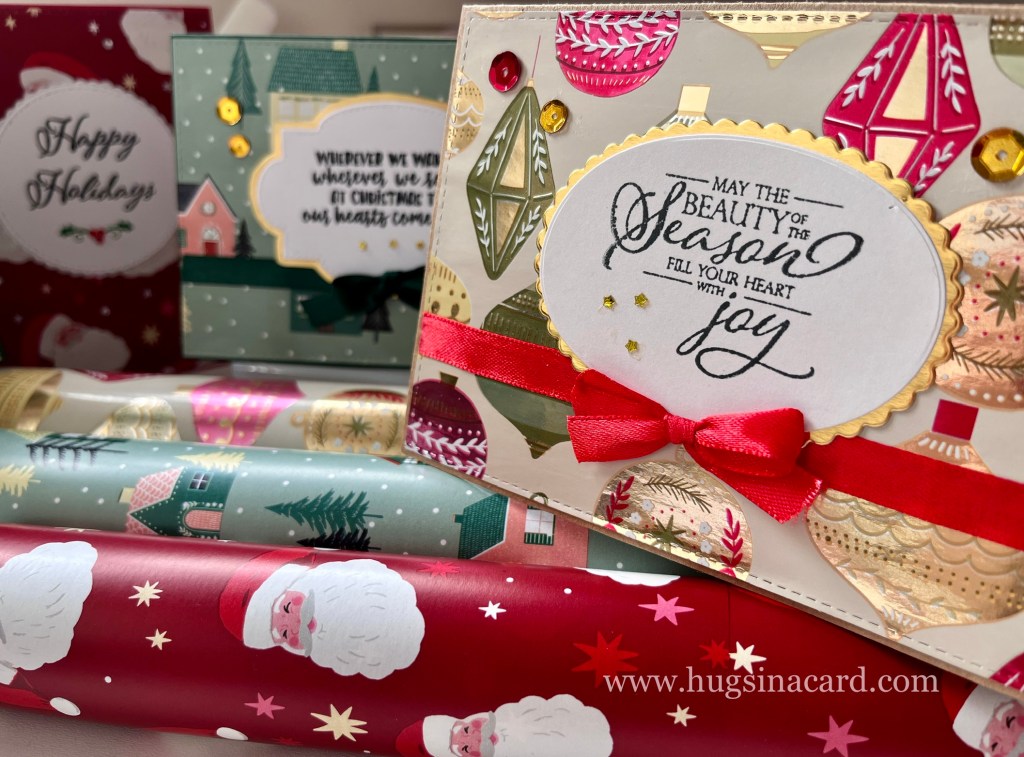
Did you know that you can even use gift wrapping papers for your projects? Here are some examples of Christmas cards I made using beautiful wrapping papers.
You’ll also want to invest more on sentiment stamps such as these ones:
- Best Year Cling Stamp Set (Stampin’ Up!)
- Biggest Wish Photopolymer Stamp Set (Stampin’ Up!)
- Big Birthday Wishes Stamp Set (MFT)
For beginners who like a bit of colouring, it’s ideal to start with a clean design that uses minimal supplies and colours.
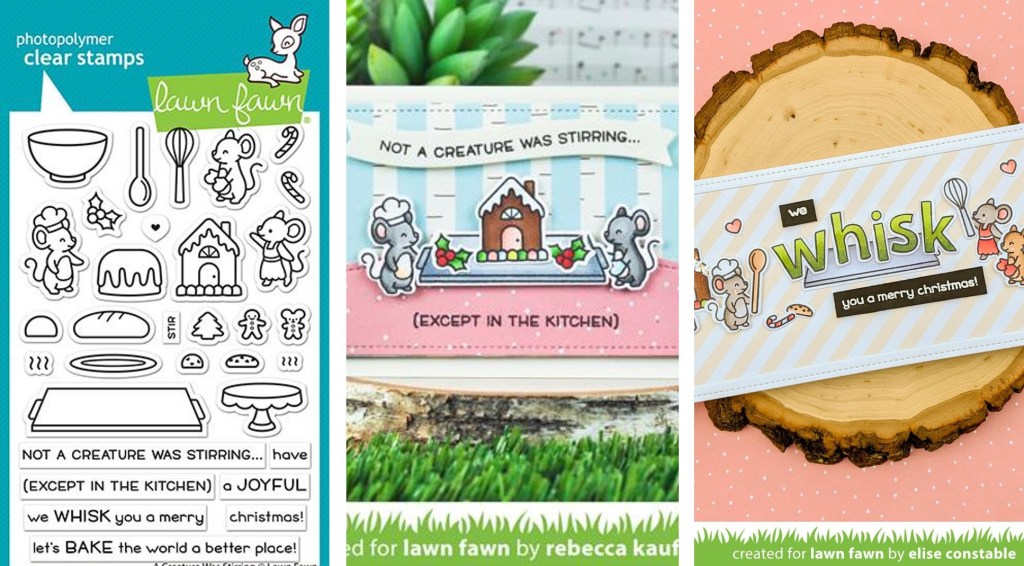
When making clean card designs with stamps, choose stamp sets with small images and sentiments. Lawn Fawn has a variety of stamp sets that are perfect for minimalistic cards such as A Creature Was Stirring and Special Delivery.
You can start also building your alcohol ink markers by getting the colours you need first based on the images you’ll use from your chosen stamp set.
Here are some examples of cards I made with minimalistic designs.

These designs are easy and perfect for beginners in cardmaking!
Start Making Your Own Cards!
Now you are starting to get a clearer idea of which card-making technique you’ll start with and you have almost finalised your checklist of materials and supplies to buy. Finally, the fun part, time to make your very own handmade cards!
Feel free to check out these card making designs for beginners for ideas. Each design comes with instructions and a checklist of materials you need.
Do you want to be one of our lucky Hugs in a Card happy mail recipients? Each month, I send out a FREE handmade card to some of my readers as a way of saying thank you and giving back. Click here to find out more!

One thought on “How to Make Cards: The Ultimate Card Making Guide for Beginners”