Hi friends! It’s been a while since my last post so I’m doing a bit of catching up with sharing my handmade card designs. Here is another pop up card I made for a friend who just gave birth to their 3rd child, a beautiful baby girl!
This pop-up-congratulations-for-a-new-baby-card featured various stamp sets from Lawn Fawn and Stampin’ Up! but I used mainly the Little Bundle stamp set for this design since it’s the most fitting one.
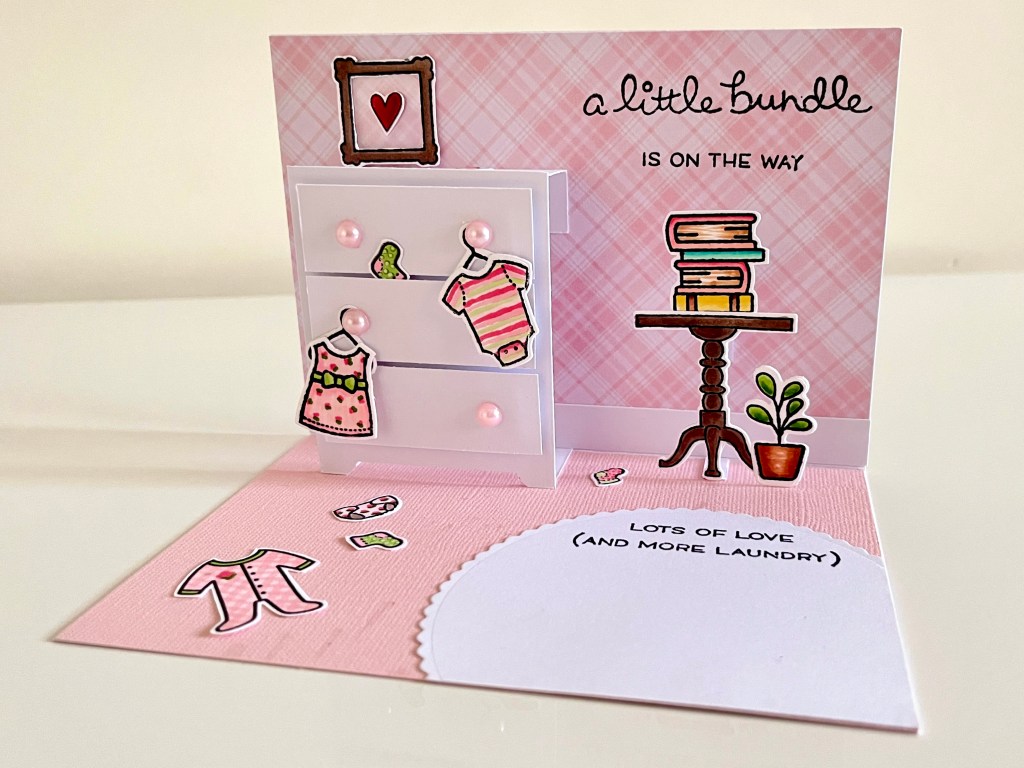
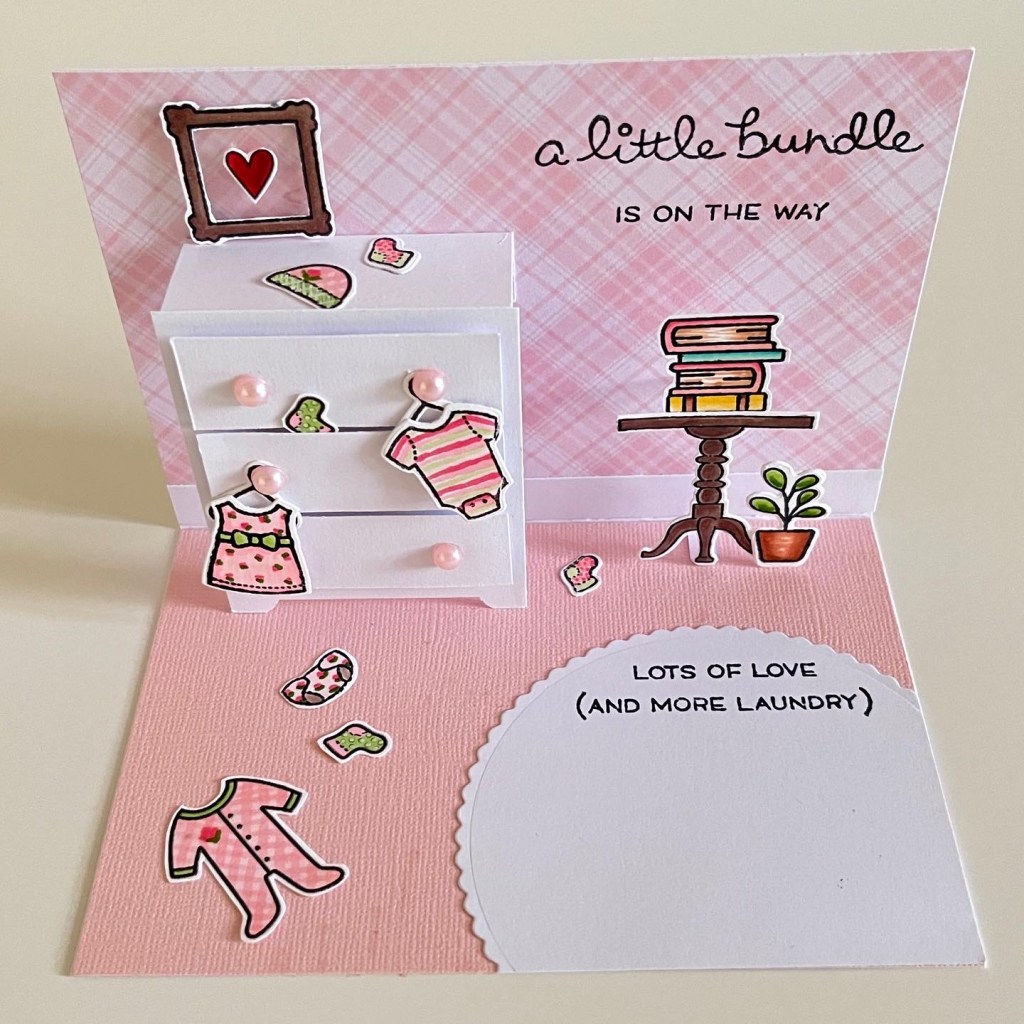
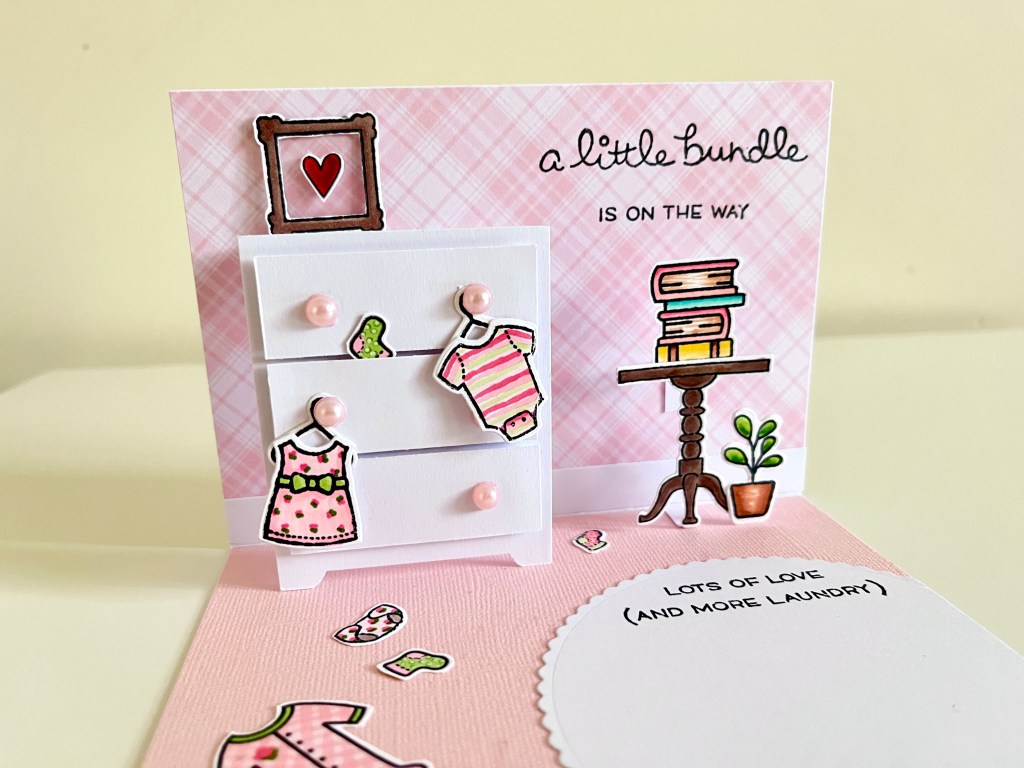
For this baby card idea, I wanted to create a nursery with pink wallpaper and floor, white dresser, bedside table with books on top, frame, and lots of cute baby clothes scattered around the room.

I started with a regular A6 sized white card base. I covered the insides with a pink plaid patterned paper on one side and a plain pink cardstock on the other. Then I added a strip of white cardstock on the bottom of the plaid paper, to create a baseboard look.
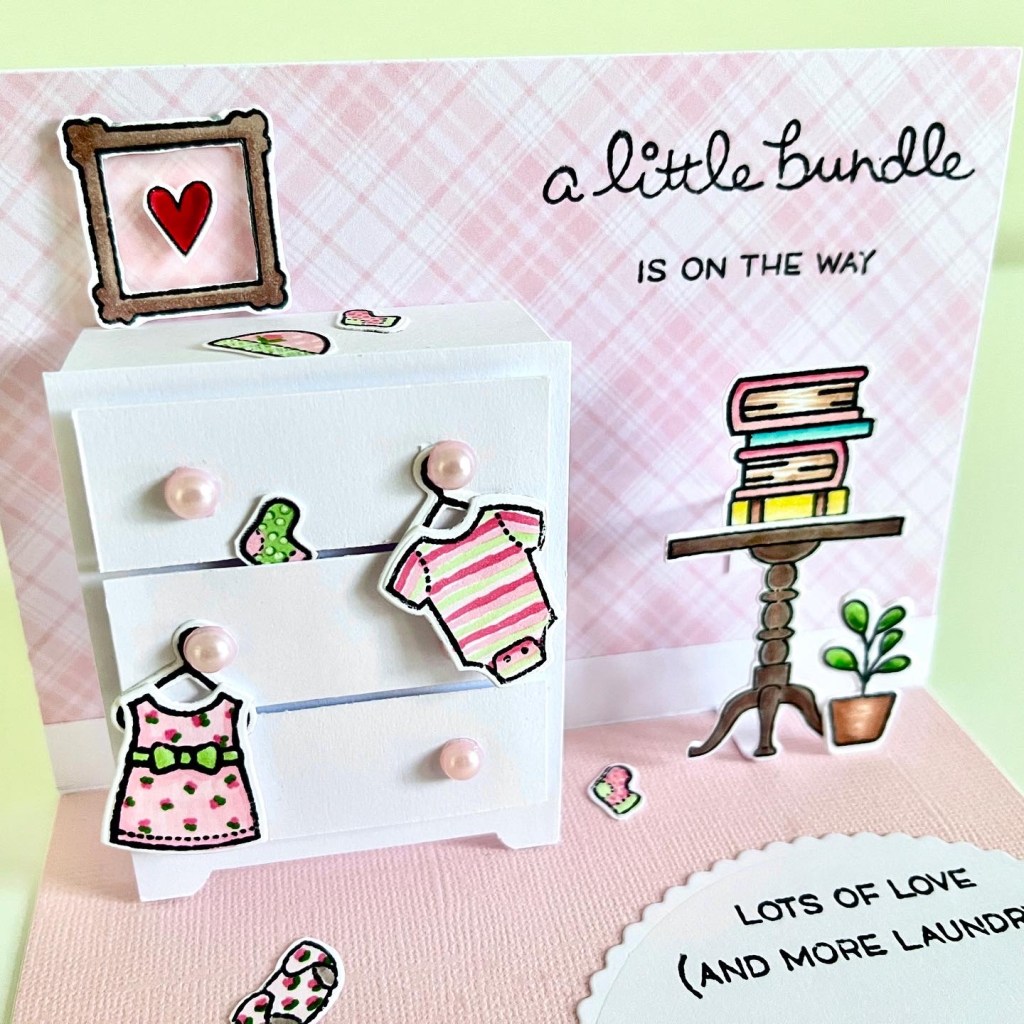
Next, I started creating the pop up white dresser. First, I cut out the 3 drawers from a white cardstock. The dimensions are approximately 2cm x 5.5cm each. Then I cut the front of the dresser which should be able to hold all 3 drawers. The dimension is approximately, 7cm x 6cm. I cut a bit of opening at the bottom for the “feet” of the dresser. I attached the 3 drawers with uniform spacing between each other, then I attached pink adhesive half pearls for the handles.
Then, I created the pop up mechanism for the dresser. Remember how the front of the drawer is 6cm wide? The pop up mechanism I used was about 2mm smaller than that. Its length is about 13cm which was scored as follows:
- 1cm – this tab serves as the attachment to the card
- 2cm – top of the dresser
- 7cm – length of the dresser
- 2cm – bottom of the dresser
- 1cm – the tab that attaches to the card
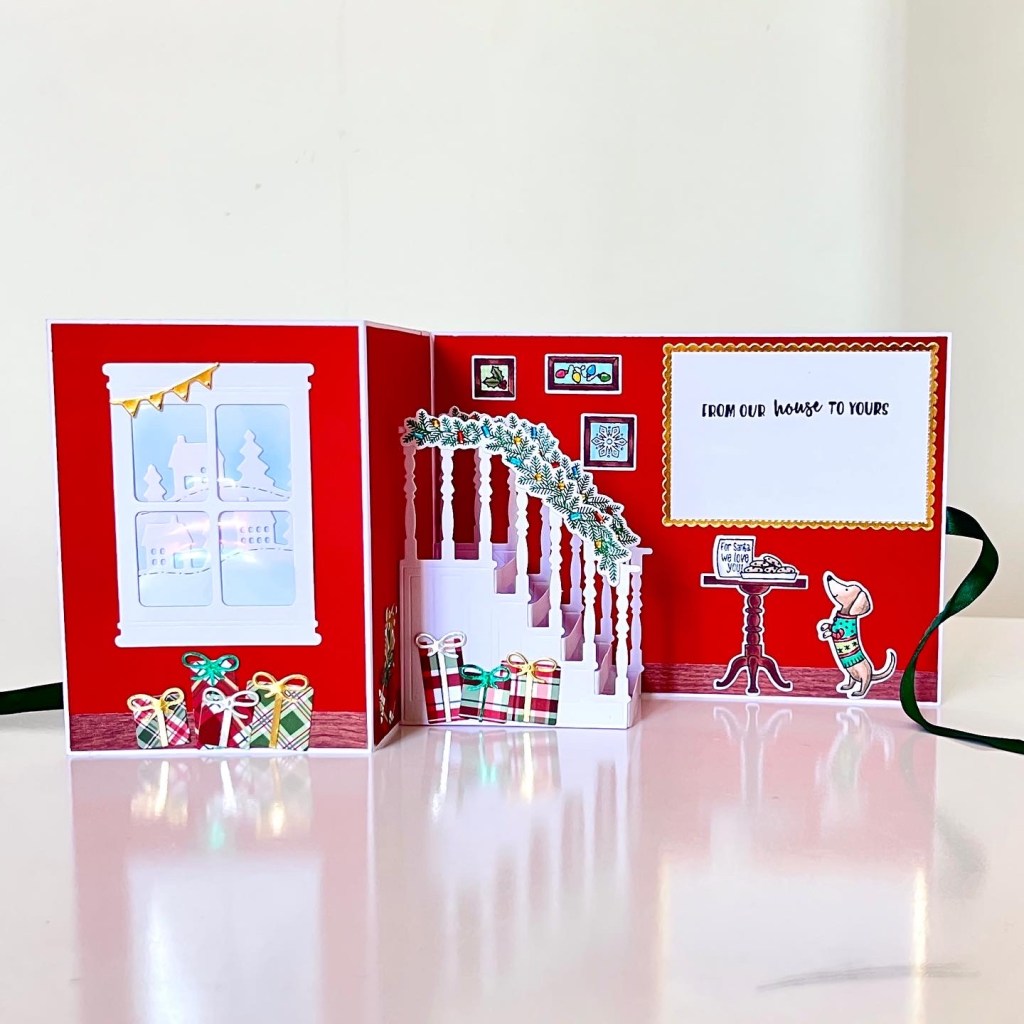
The other pop up feature in this card was the side table from Stampin’ Up! Ready for Christmas stamp set (my most fave set ever but sadly a retired product). I just used a thin strip of white cardstock, this one’s from my stash of off-cuts, which I scored at 1cm (for the attachment tab), 1cm (the top of the table), 2.5cm (length of the table), 1cm (bottom of the table), and 1cm (for the attachement tab.
You can watch this video on how to attach a pop up mechanism on cards, it’s pretty easy once you get the idea and you can make whatever variations you like for your future cardmaking projects!
Once the pop up mechanisms in my pop up card were ready, I then started stamping the images I need mostly from Lawn Fawn Little Bundle and a few from other stamp sets such as the round corner table from Stampin’ Up! Ready for Christmas bundle and the frame, books, and plant, from other Lawn Fawn stamp sets.
I coloured the images with various alcohol markers (I’m just starting to build my copics and I mostly use Little Tipsy markers), then I cut and began attaching them onto their places in the card.
Just a little piece of advice if you’re going to copy this card exactly as it is, to stamp the sentiment first before gluing the images because it can get hard with so many of the pop up elements in the way.
Finally, I attached a piece of scallop circle on the right bottom part which looks like a carpet and also serves as a space for your personal message. Lastly, I added the sentiment “lots of love (and more laundry) to complement the scattered baby clothes everywhere hahaha.
Did you enjoy this pop up baby card? Thank you so much for visiting my blog and please don’t forget to like this post or share it on social media. 🙂 Check out also my Facebook page Hugs in a Card or Instagram for more designs and ideas.
Do you also want to receive some Hugs in a Card happy mail? Each month, I send out a FREE handmade card to at least one of my readers as a way of saying thank you and giving back. Click here to find out more!
