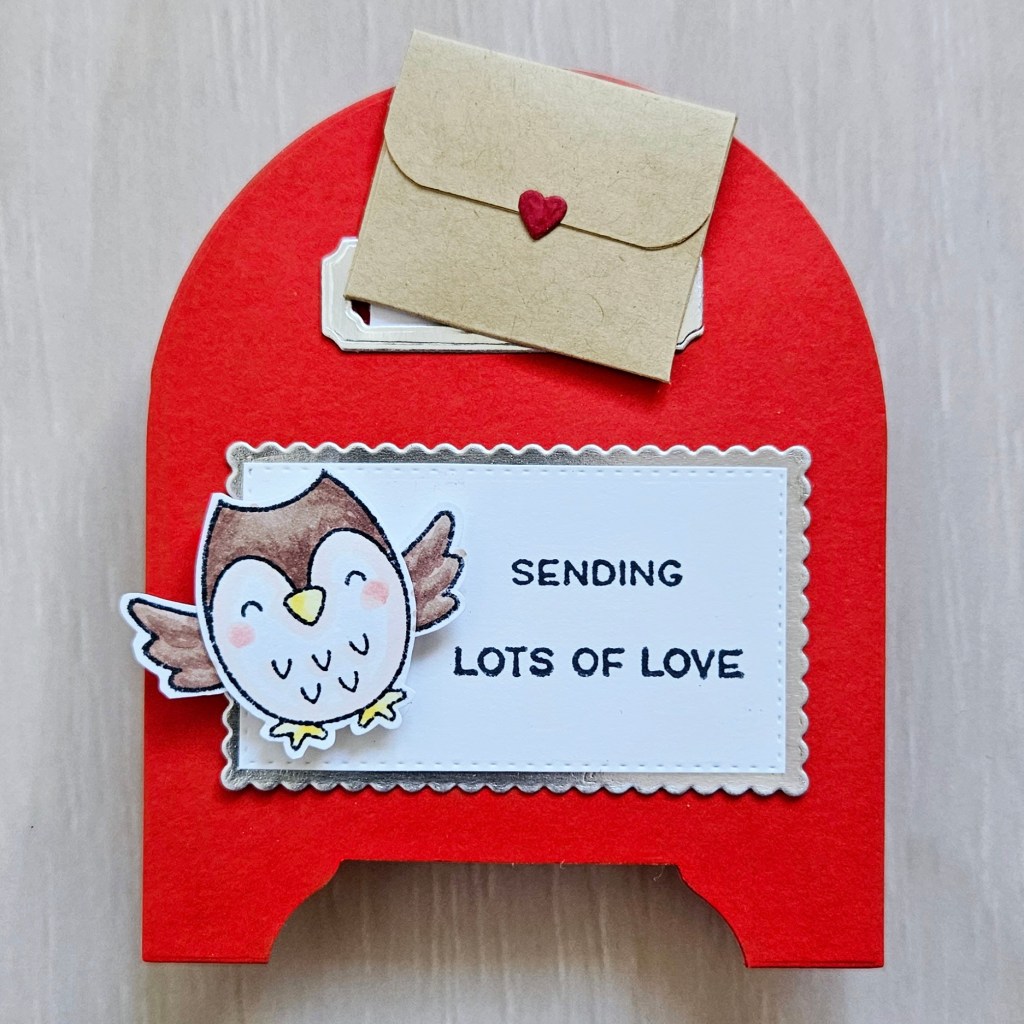
Hi friends! For my cardmaking idea today, I used various supplies and brands to come up with this Mailbox interactive card. I was rummaging through my stash the other day and then an idea came into my mind. For those who know me, you probably know how much I love the Outside The Box Level Up Die-namics from MFT. It just randomly hit me that it’s shaped a lot like a mailbox and I’ve been wanting to make a card just like that.
So I did a bit of stretching my supplies. To make this card, I die cut a folded red cardstock using the largest dome shape Die-namics. I folded it so that it turns into a card base. I made sure that the left side was inside the metal die cut so it didn’t cut the fold. Then I cut another red cardstock this time just a single piece.
I lined up both dome shaped cardstocks, the folded one and the single piece one, and then at the bottom, I punched a portion using my Stampin’ Up! Timeless label punch. It’s one of my favorites but, unfortunately, it’s a retired product. Now the bottom part looks like the feet of the mailbox.
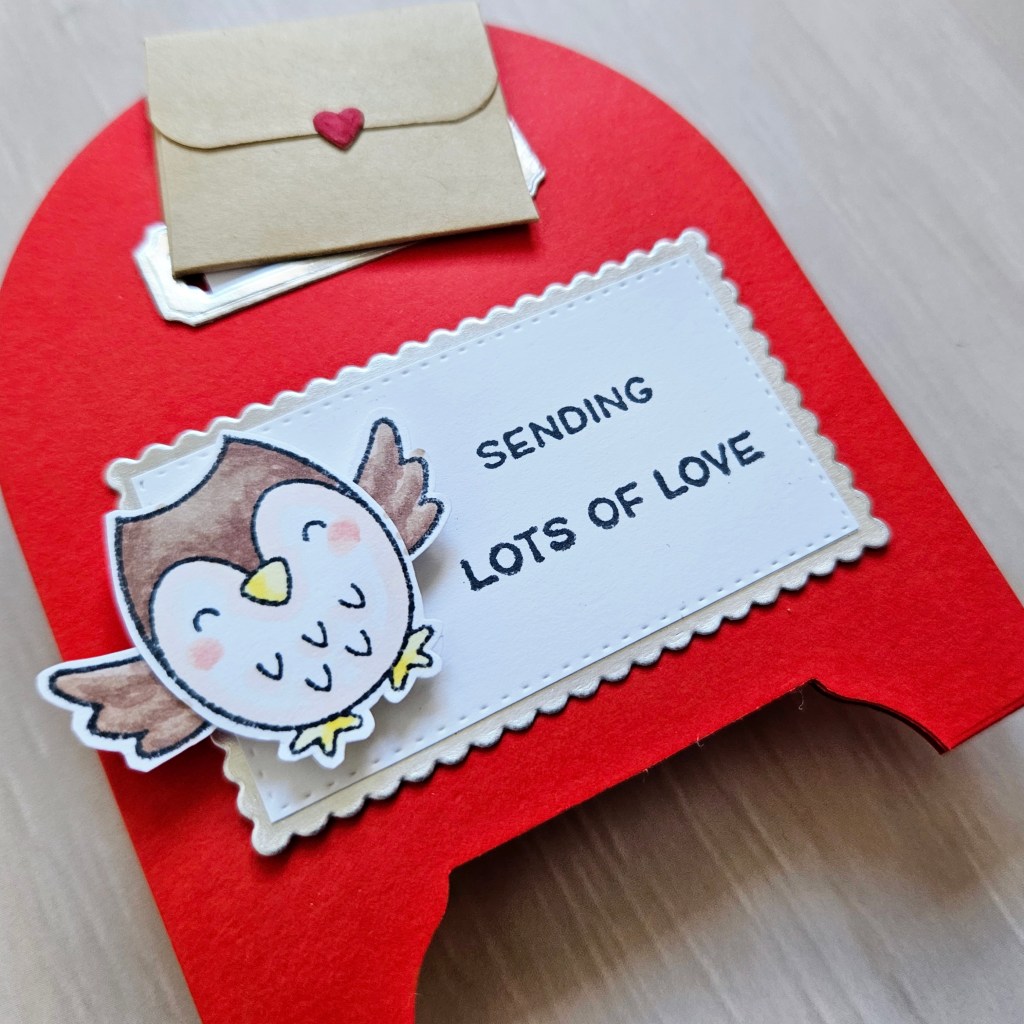
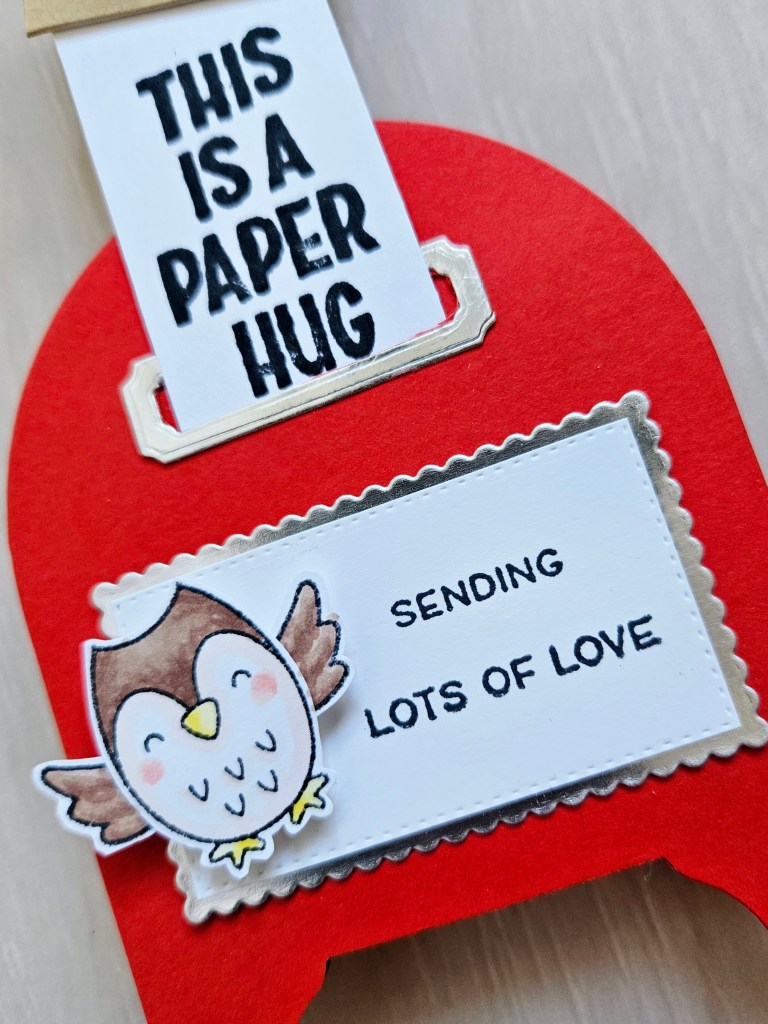
I started working on the single piece first which will be the front panel. From a silver cardstock, I cut a rectangle using Stitched so Sweetly dies, another retired product from Stampin’ Up! I cut another one of this in white cardstock, but I removed the scalloped part with scissors. This is where I stamped my sentiment from Lawn Fawn Special Delivery, which says sending lots of love.
I cut another smaller rectangle from silver cardstock, and then cut an opening in the middle, using single pieces of die cuts here and there. This is the mail slot which I attached at the upper part of the dome shaped cardstock. If you can’t find pieces of suitable die cuts in your stash, you can just use your scissors and box cutter to make the mail slot. Same as with your sentiment label, you can skip the die cuts and just use a cutter.
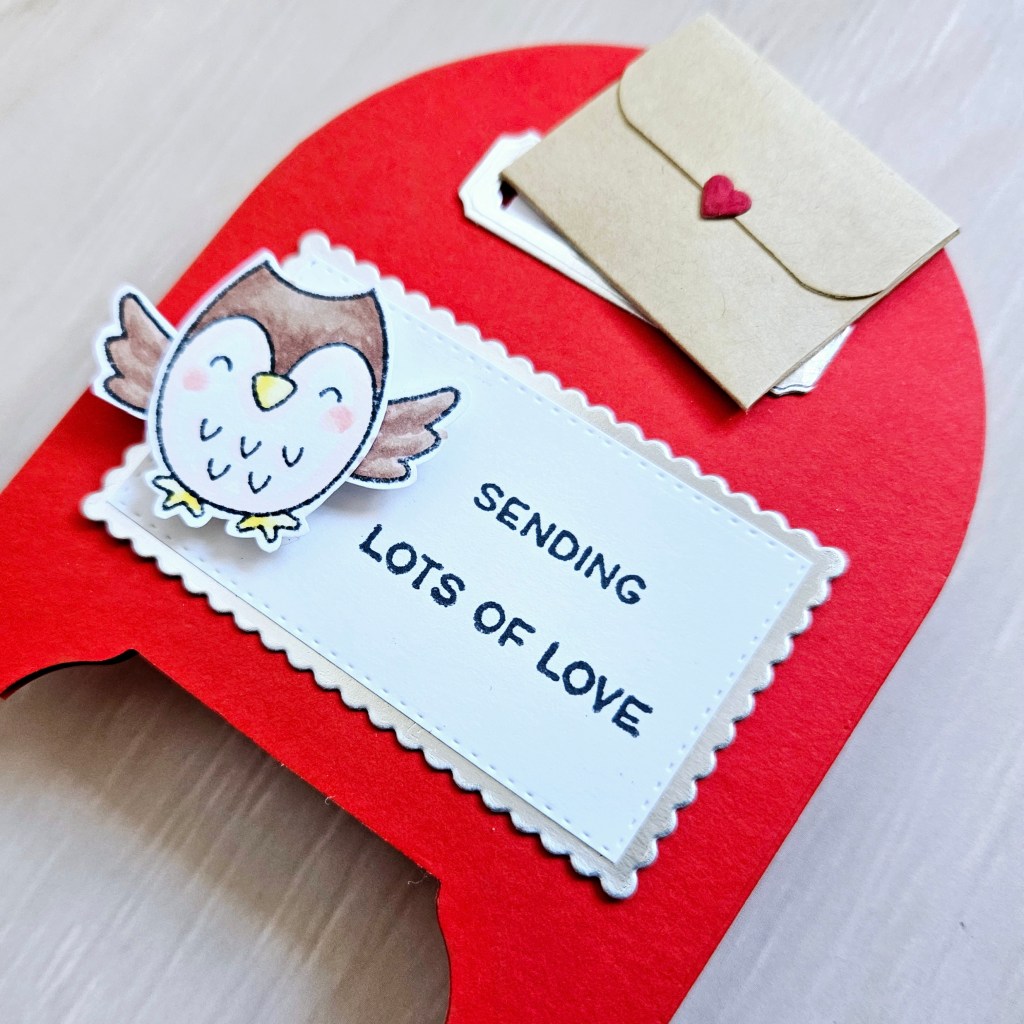
I stamped the owl image and also its wings from the Lawn Fawn Special Delivery stamp set, and colored the images with Ohuhu markers. Then I attached the open wings at the back of the owl with my Tombow liquid glue. I attached the owl on the left side of my sentimen label with foam tapes to add a bit of dimension to my handmade card.
For the interactive part of my card, I cut a piece of white cardstock wide enough to fit the mail slot opening and long enough to contain the sentiment from Marzipan Greetings clear stamp and die set from Poppystamps. Unfortunately again, this is a retired product. The sentiment reads this is a paper hug.
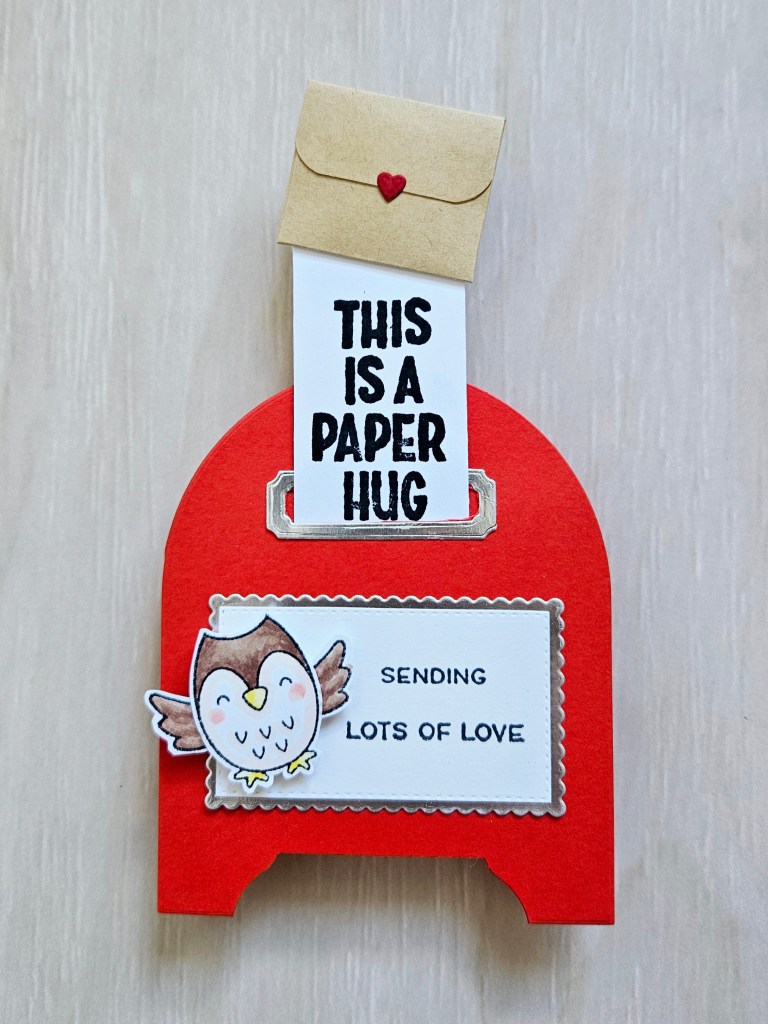
At the bottom part of the cardstock, I attached a small piece of cardstock that’s wider than the mail slot opening. This acts as a stopper which will prevent the paper from getting pulled out completely. Then I insert the other end just slightly poking out of the slot. I attached a kraft brown mailing envelope with a heart seal. I didn’t have a stamp set that says pull so I just left it blank. It would be nice to add that message though so that the recipient will know that she can pull on the envelope for the surprise message.
Finally, I attached the front panel onto my cardbase making sure that they align. Also, make sure not put glue on the parts where the interactive mechanism works so as not to interfere with the movement of the paper when pulling and pushing. For the final touch, I added a white cardstock inside where you can write your own personal message.
Thank you for visiting my blog! I hope you liked this cardmaking idea and if you want to see more inspirations, please visit my Instagram @hugsinacard.
