
Title sounds too daunting? While this card is in fact a pop up card, a shadow box card, and an interactive card all at the same time, it’s not actually very difficult to make as it sounds. I’ll tell you in a bit how to make this pop up card.
With this diy pop up card design, I started of by cutting an A4 cardstock in this lovely tiffany green colour, by half lenghtwise. I only used one side of it and scored the cardstock in landscape orientation. The score placements are 1″ – 5.5″ – 6.5″ – 11″. There will be a little bit left which will connect the whole pop up card into a shadow box card. But before putting the whole thing together, choose one of the bigger area as the front of the shadow box and cut a rectangle out leaving half an inch on both left and right and a quater inch on the top and 1 inch at the bottom.
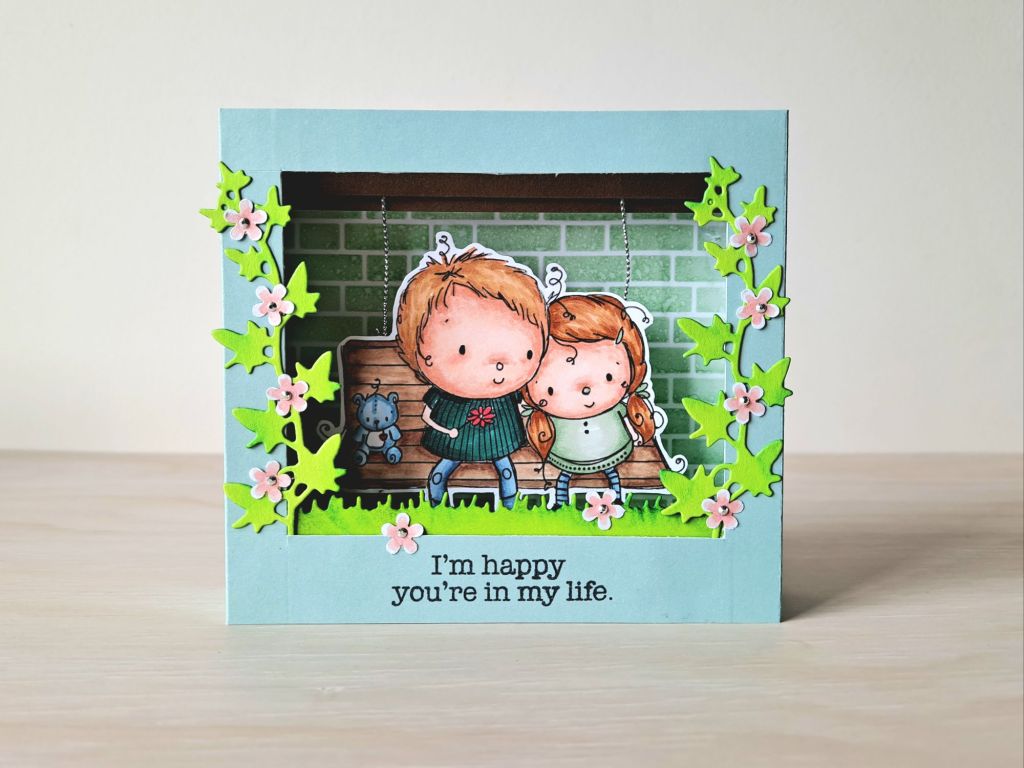
Next, I cut a piece of white cardstock that is 4.25 x 5.25 inches in size. This fits the inside back panel perfectly. Using Lawn Fawn Brick Stencil and Mint Macaron Ink from Stampin’ Up!, I created a brick background on the white cardstock before sticking it onto the back. Then I added a dark brown insert at the top before creating the shadow box template. The bricks were perfect for this pop up card design going for a garden look.
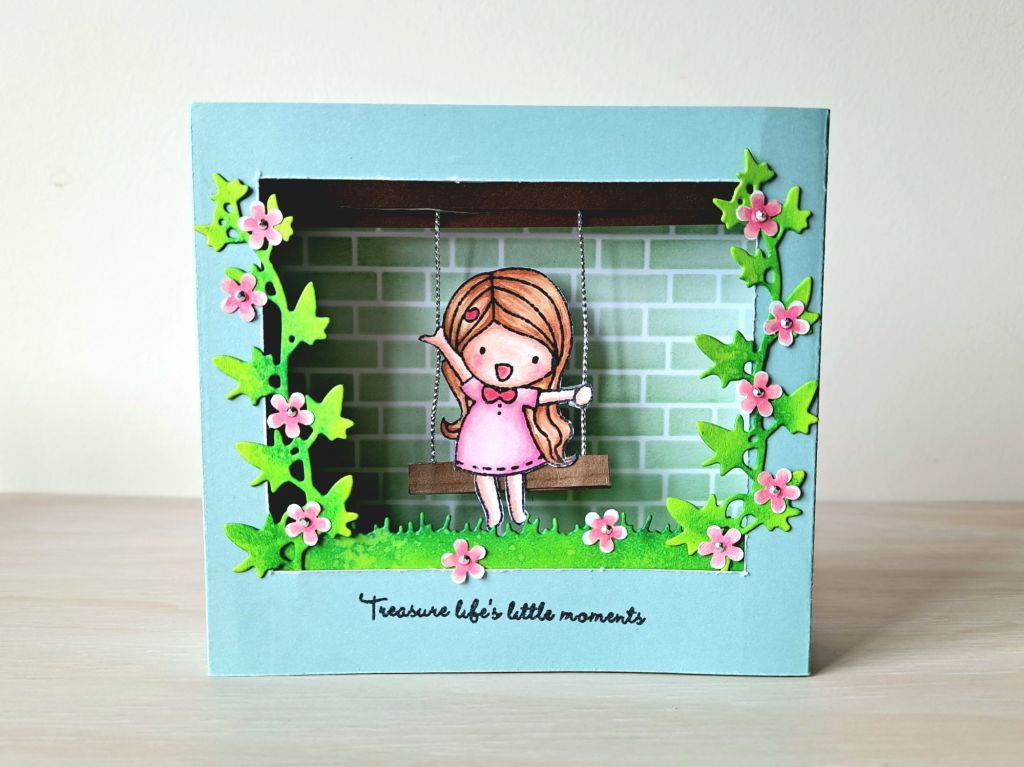
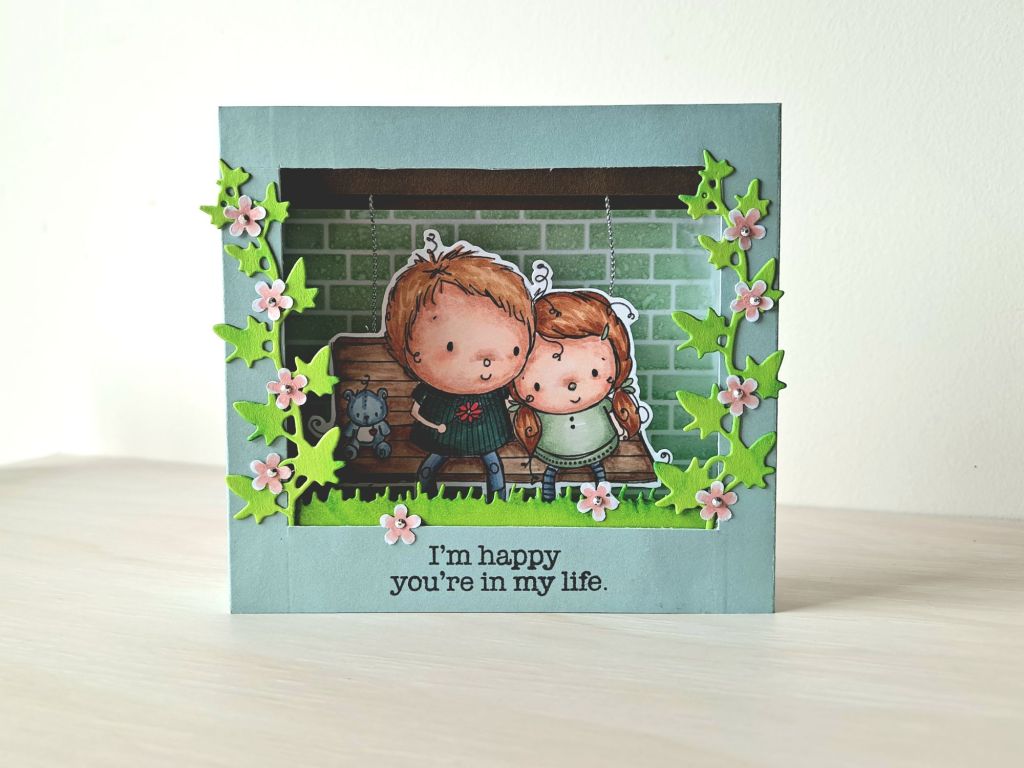
The DIY pop up card is almost finished at this point. I just needed to prepare the elements I wanted to add in. On one of the pop up card designs, I used a couple which is a digital stamp from Rachelle Anne Miller Stamps. On the other, I used a clear stamp set from Love Cynthia stamps. Using some leaf and grass die sets, I also cut two vines for the sides of the frame and the grass at the bottom. I created some dimension on the die cut elements by brushing some ink (Granny Apple Green from Stampin’ Up!). I also punched some flowers on a white plain paper and coloured the middle with peach. Before putting everything together, I decided to stamp my chosen sentiments at the bottom.

Isn’t this pop up card really easy? Now, it’s time to create the interactive swing part. I taped 2 silver strings at the back of the couple. For the girl, I had to create the swing seat first from 2 strips of brown cardstock and sandwiched the silver strings in between. Then I connected the silver strings to the brown insert at the top. An easy technique is to use double sided tape at the back of the brown insert, then once the strings have been attached, secure it with another piece of double sided tape on the top. Flip the strings down, and then secure the whole top of the swing with another piece of brown cardstock at the back. This will make the interactive swing sturdy in case the elements get accidentally pulled.
By now, the pop up card looks definitely 3D. For the final touch, I glued the vines and grass and then scattered the flowers around. I added some tiny silver gems (these are nail rhinestones!) in the middle of the flowers. I think the shine and sparkle from the embellishments added beauty to the pop up card designs.
I really love making pop up cards. This easy shadow box card is just one my designs. If this is your first time to stumble upon my blog, do check out my other posts on how to make pop up cards where I show different kinds of pop up card tutorials and templates. Here is a list of other pop up card ideas:
- Pop up card for birthday
- Pop up card for wedding
- 3D pop up card for thanksgiving
- 3D cards for Christmas
- Pop up card for kids
Here is the final outcome for this interactive card. I have always wanted to try to create a pop up card with flowers around the frame and I’m very happy with the colours too. The pop up card with the girl was gifted to my colleague’s niece, while the pop up card with the couple was for another dear friend.
Do you also want to receive some Hugs in a Card happy mail? Each month, I send out a FREE handmade card to at least one of my readers as a way of saying thank you and giving back. Click here to find out more!

One thought on “Pop Up Shadow Box Card with Interactive Swing”