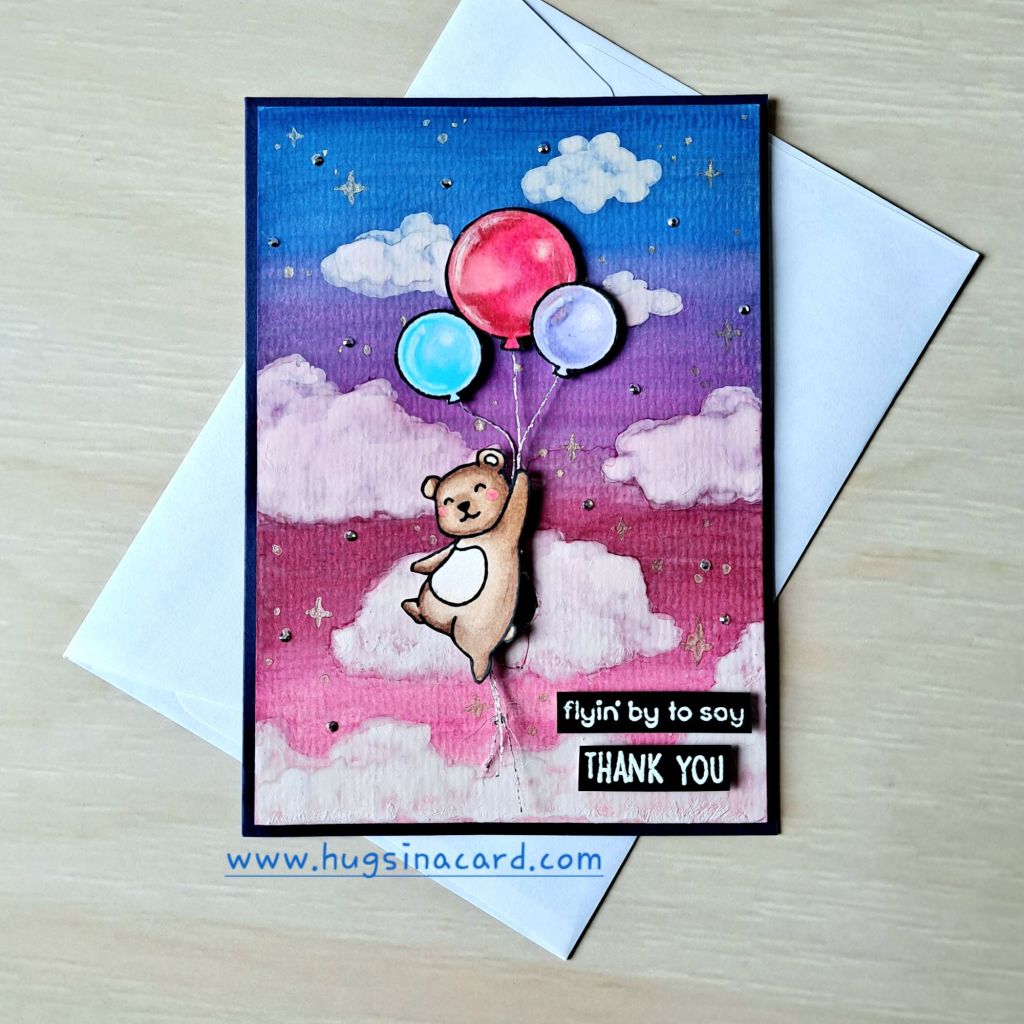
I’m sharing another diy thank you card for my wonderful cardmaker community in general. This thank you card design uses the same colour scheme I am currently obsessed with. I made the background by blending water-based dye inks from Stampin’ Up! and Tim Holtz. The colours I used from bottom to top were:
- Pink- Worn Lipstick (Tim Holtz Distress ink)
- Red violet – Rich Razzleberry (Stampin’ Up! ink)
- Purple – Gorgeous Grape (Stampin’ Up! ink)
- Navy blue – Night of Navy (Stampin’ Up! ink)
- Bright blue – Pacific Point (Stampin’ Up! ink)
This time, instead of dye inks, I decided to use watercolour. My little girl has been painting a lot lately, and one time, I joined her on a watercolour session. Instead of using a smooth white cardstock, I used a watercolour paper. It wasn’t a fancy watercolour set either, I used whatever my preschooler was using. They’re cheap ones but they’ve got good pigment.
The technique was to set the colours first and then slowly build on top of the colours while making the colour transitions soft.
When the watercolour dries, I dabbed white clouds, starting with small ones at the top and then filling the bottom with a big cloud. I did the same as with the background, I set the white first. The clouds didn’t have to be solid either. I waited for the first layer to dry and then dabbed more white on top, only in certain parts to give the clouds dimension. I’m so glad that the clouds ended up looking fluffy!
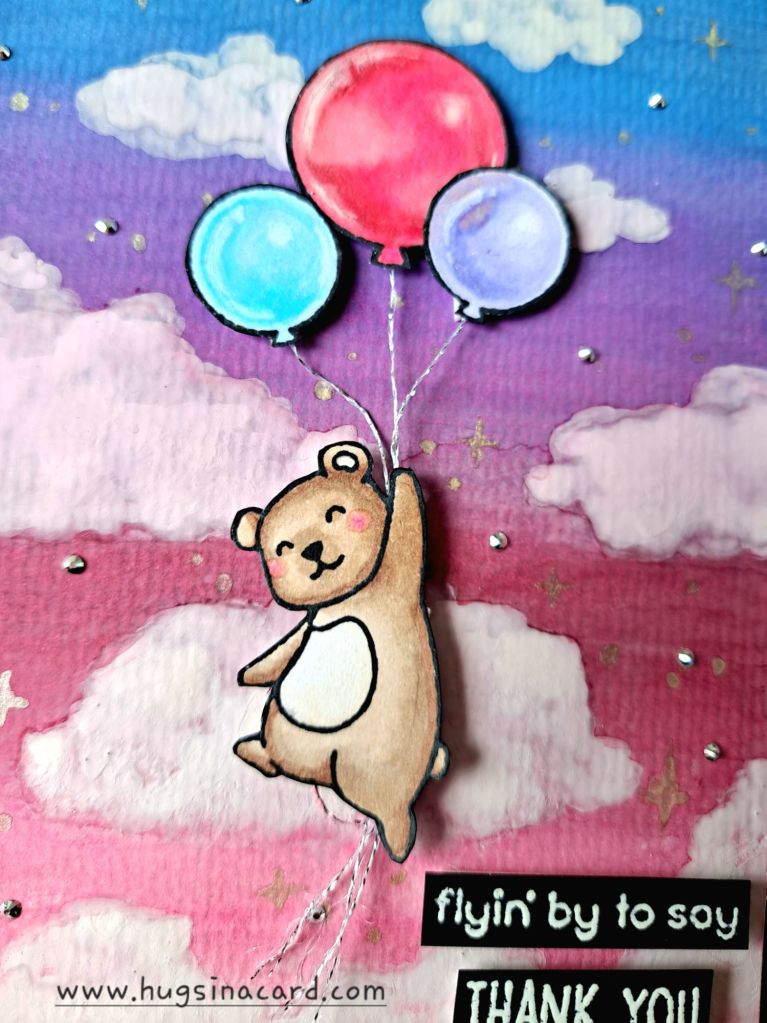
Then, I stamped the bear and balloons on a smooth white cardstock. The images were from Lawn Fawn High Five stamp set. This time, I used Ohuhu alcohol ink markers. I tried my best to make them look a bit translucent but it was very hard. I made one side of the balloons darker in shade and kept the shine on the right top part. Then I used white gel ink for the highlights. I also dabbed some white pigment ink on the red and purple to extend the appearance of clouds behind these balloons. It was a lot of work but in the end, I was happy about the outcome. There’s a lot of room for improvement still.
I used silver thread for the balloon strings then let the bear hand at the ends. I cut a hole behind the bear, a little bit smaller than a 10 cent. Then attached the bear to the 10 cents coin using a foam tape. The coin goes behind the hole to keep the bear in place but still let it move when you shake the card.
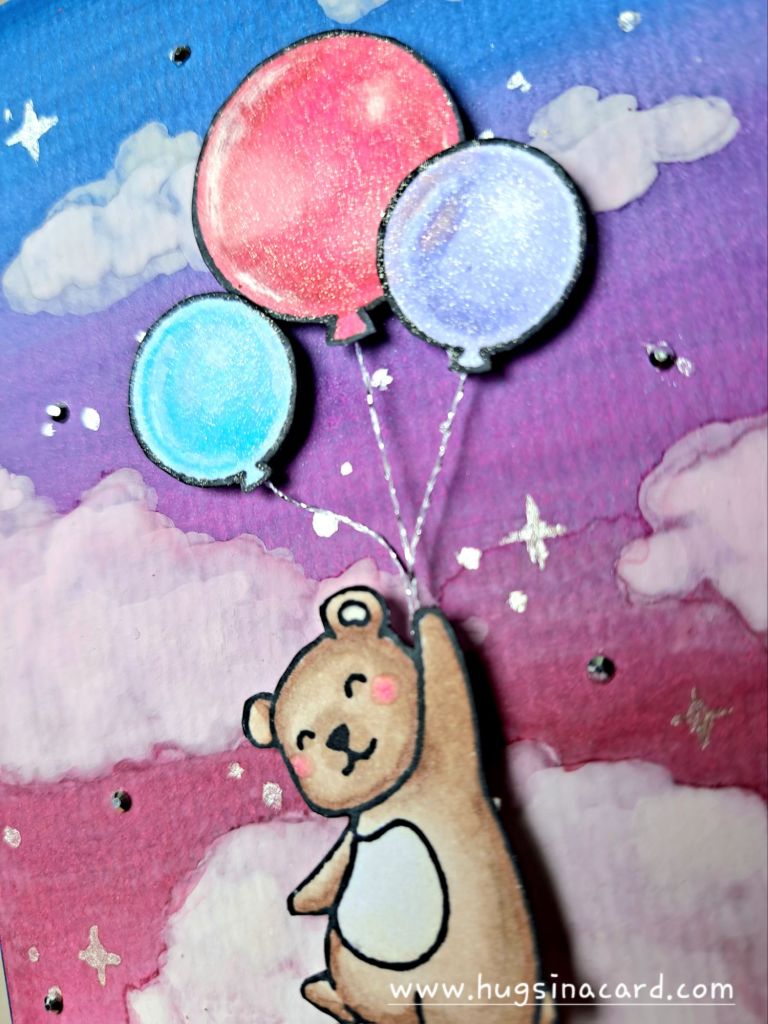
Finally, I added stars in the background using white pearl watercolour and silver nail rhinestones. I also added some glitters over the balloons using a clear glitter brush pen.
Here’s a short video to show the interaction of this flying bear thank you card.
