I’ve had this stamp set for a while now – Fall Friends by Hello Bluebird. When I saw it, I just had to get it. These critters are so adorable and they are the perfect picture of cosiness with their cardigans and floating scarves.
Since it’s officially autumn here in Australia since March, I thought my March cards should use this stamp set. I already had a design in mind but I just tweaked it a little bit to create 2 different techniques: window card and shaker card.
I will show how I made both cards simultaneously.
First, I prepared 2 white C6 card bases. Then, I cut another piece of white cardstock the size of A6. I trimmed off a quarter inch from all sides of the A6 cardstock. This extra piece of cardstock was for the shaker card.
For the window card, I die cut the front of the card base itself. For the shaker card, I die cut the piece of A6 cardstock. I used one of the dies from Stitched So Sweetly (Stampin’ Up!) but you can simply replace this with a circle or oval die.
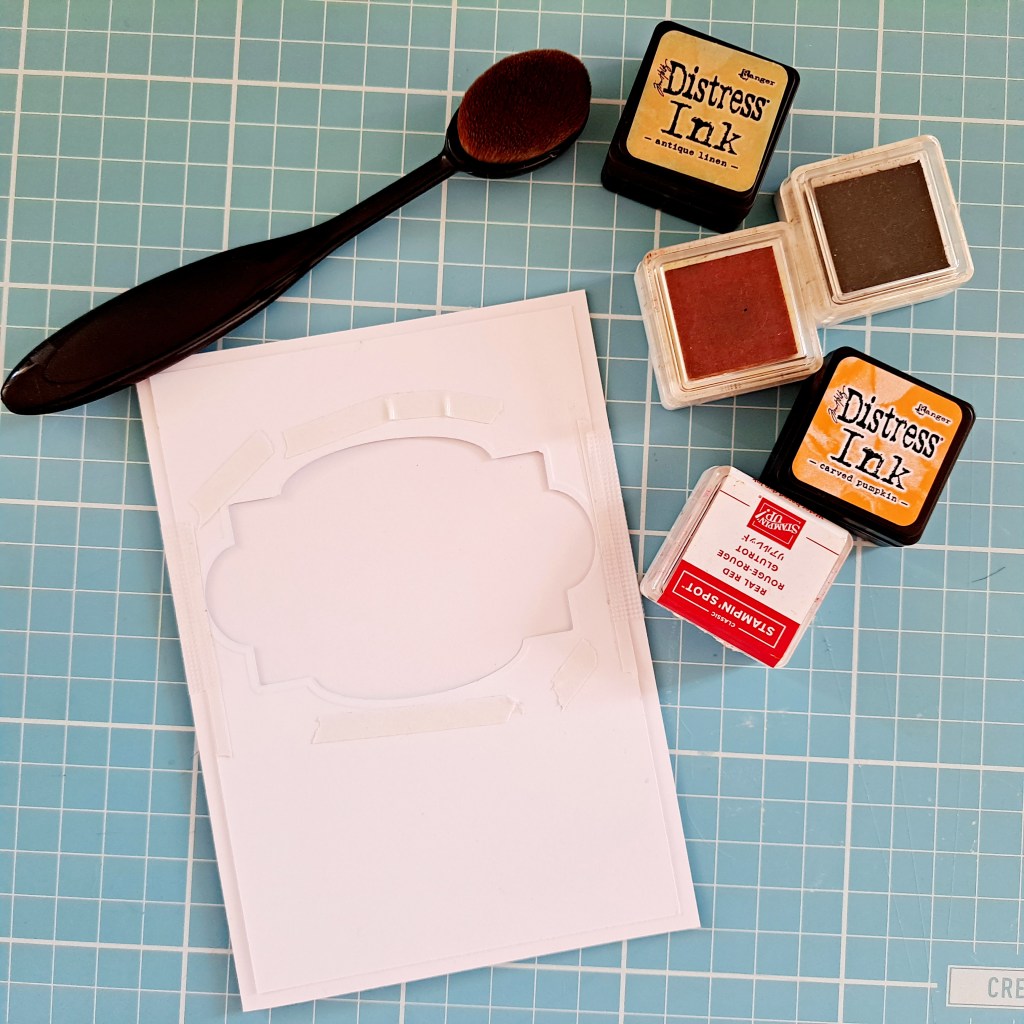
Using the off-cut from the window card, I coloured it with dark autumn shades. The inks I used were as follows, but feel free to use your own preferred brands.
- Mango Melody (Stampin’ Up!)
- Carved Pumpkin (Tim Holtz Distress Ink)
- Early Espresso (Stampin’ Up!)
- Real Red (Stampin’ Up!)
- Antique Linen (Tim Holtz Distress Ink)
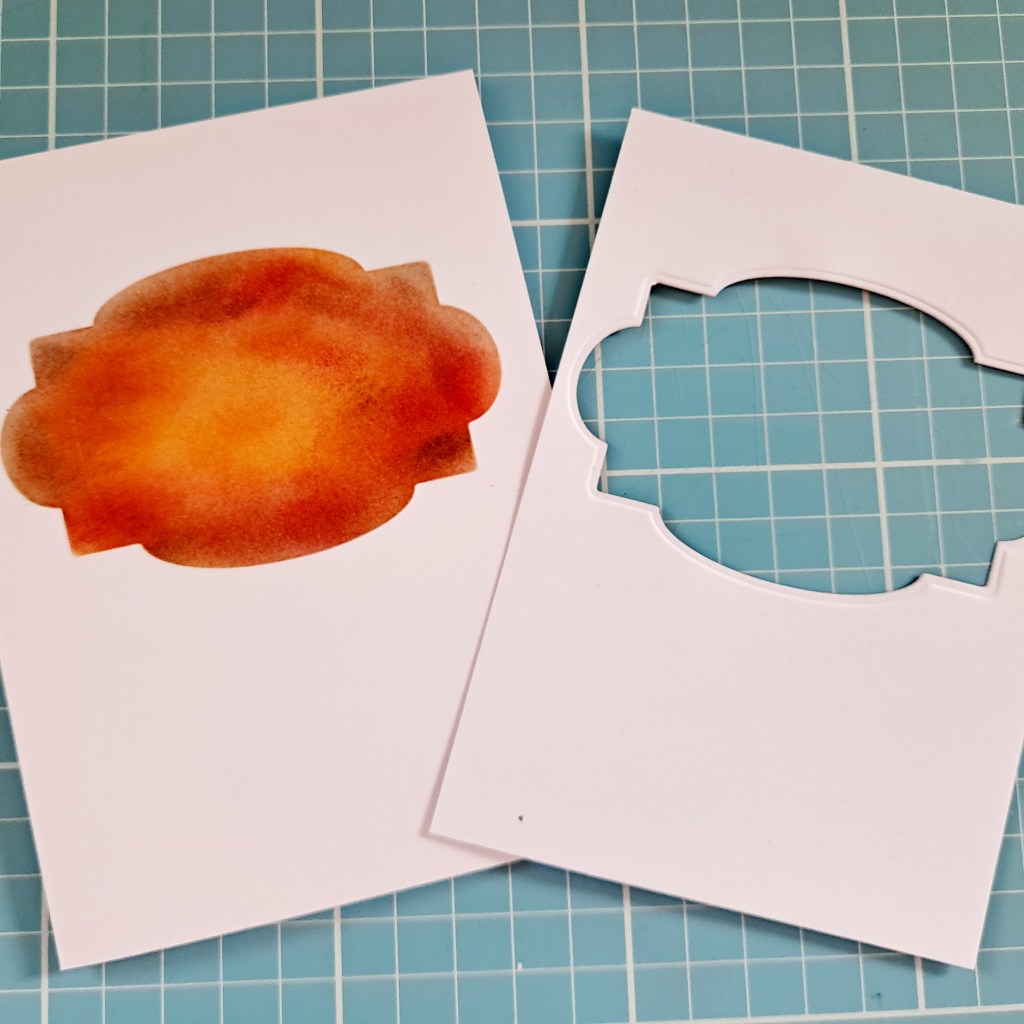
Using a makeup brush applicator (I bought of $5 for a 3-set in Kmart), colour the off-cut of the die cut from the window card. Going from outward to inward, start with the darkest colour, brown, then add in orange and then yellow in the middle. Add in dabs of red on the outer part.
For the shaker card, use a stencil to colour in the front of your C6 card base. The same method applies as above.
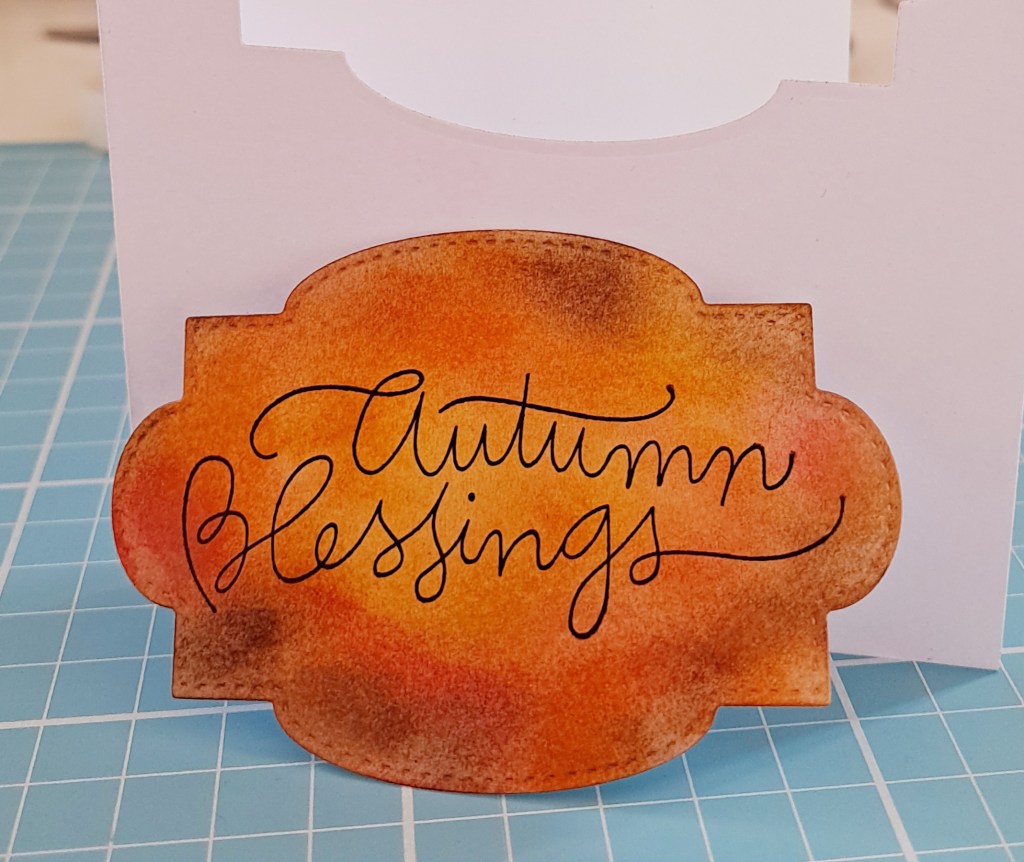
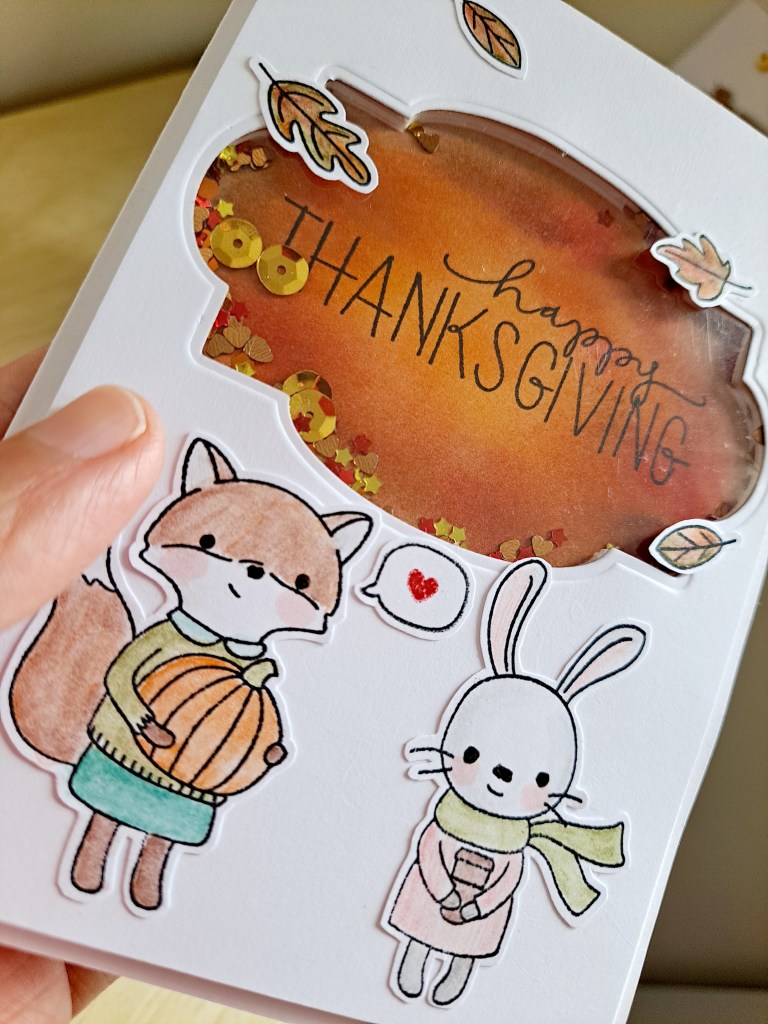
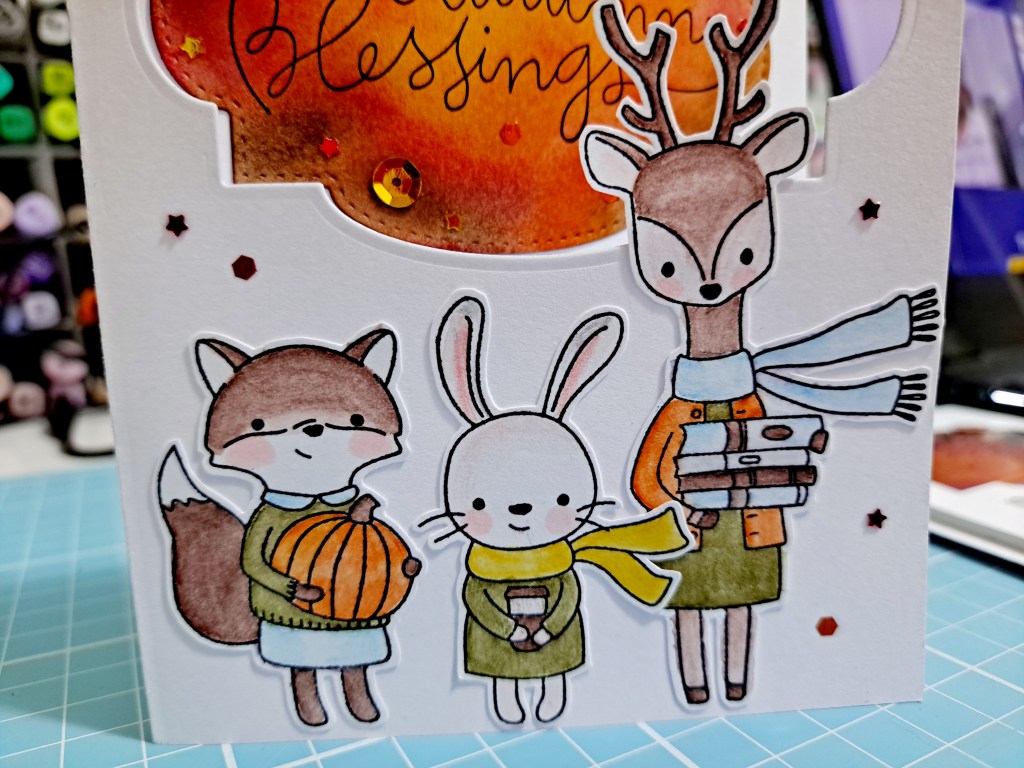
Then stamp in your chosen sentiment. The sentiments I used were from Simon Says Stamps Autumn Greetings. You may use your own chosen sentiment but make sure that it’s just big enough to fill in your coloured area.
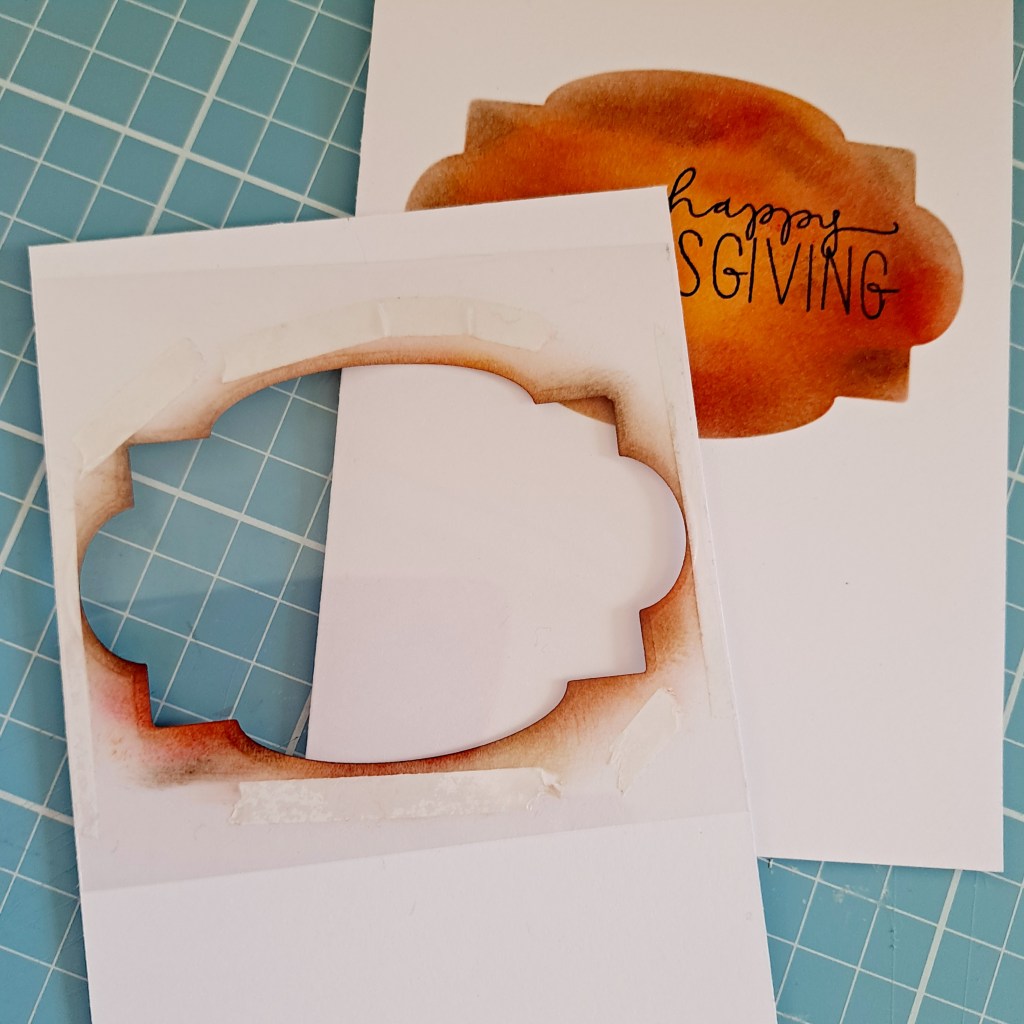
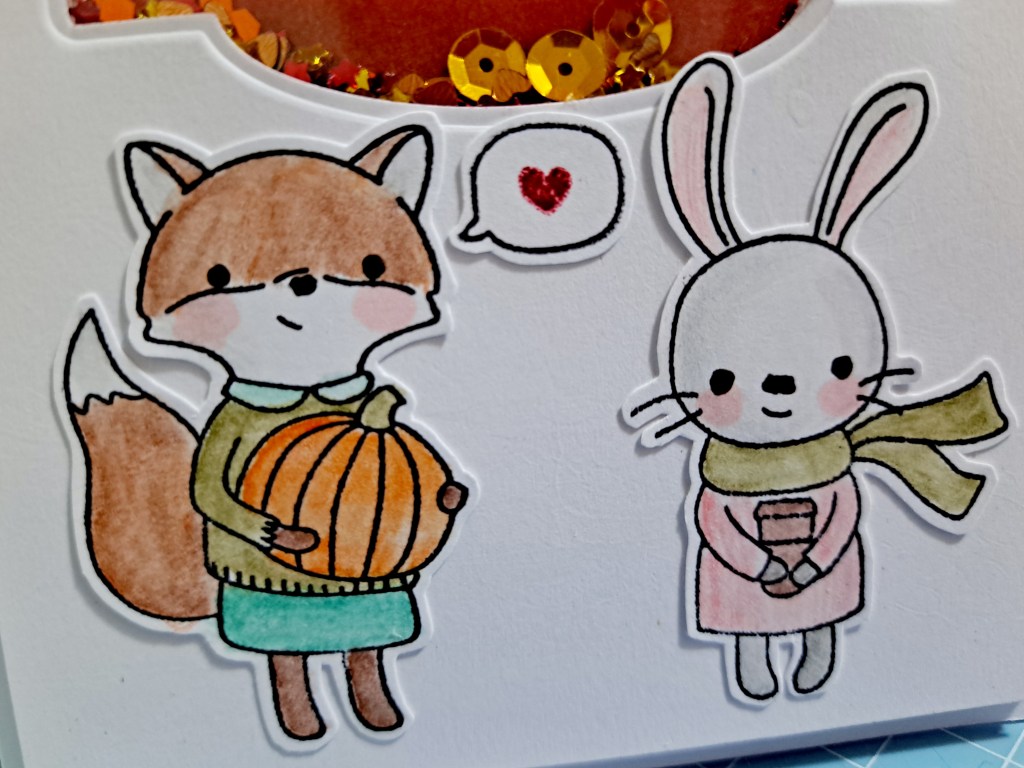
For the window card, stick the sentiment die cut label onto the part of the window like the picture below. It will be stuck on the inside part of the card. Then I added some embellishments.

For the shaker card, stick a clear plastic sheet at the back of the A6 cardstock with die cut as shown on the photo below.
After the plastic sheet has been stuck onto the back, use foam sheet (or foam tape would also do) making sure that you don’t block the window part.
Because I used a foam sheet, I had to use liquid glue to stick it onto the front of the shaker card. But before doing so, I added some sequins on top of the sentiment first, as in the picture below.

Then, the fun part! Adding the cute critters and other stamped images. I stamped everything I needed first on a white cardstock and then I coloured them using watercolour pencils and water brush.

I’m not very good at colouring and at one point, I dreaded this part (when I was using alcohol ink markers). It’s time consuming for me and then most times the colouring ends up badly. I just really suck at blending hehehe.
But watercolour pencils changed everything for me so I highly recommend them for those who struggle with colouring like me. 😄
After colouring, it’s time to fussy cut!
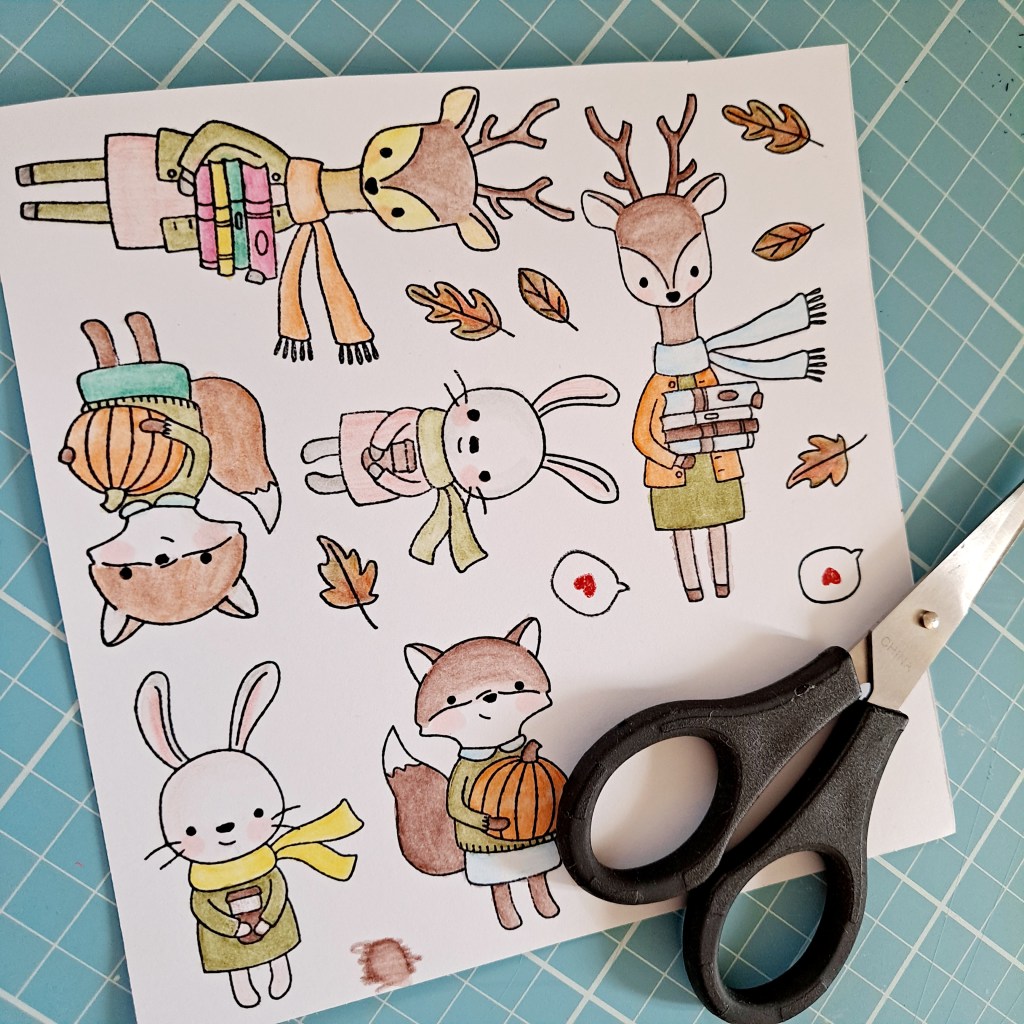
A few months back, I bought a second hand scan n cut machine but I realised I’d much prefer to cut by hand. For one thing, you have to space out your images widely for the machine to be able to scan the images properly. I think it’s too wasteful to do so. As you can see, I like to make the most of my paper hehe.
Plus, lately, I’ve been having difficulties with the machine getting an image scanned for cutting. For some reasons, the machine would decide to cut only part of the image. Well, there is some learning curve here but I don’t have time at the moment so fussy cut it is.
If you’re going to fussy cut, I would recommend Stampin’ Up! paper snips. It does the job well but of course, there’s a lot of brands out there that could serve this purpose.
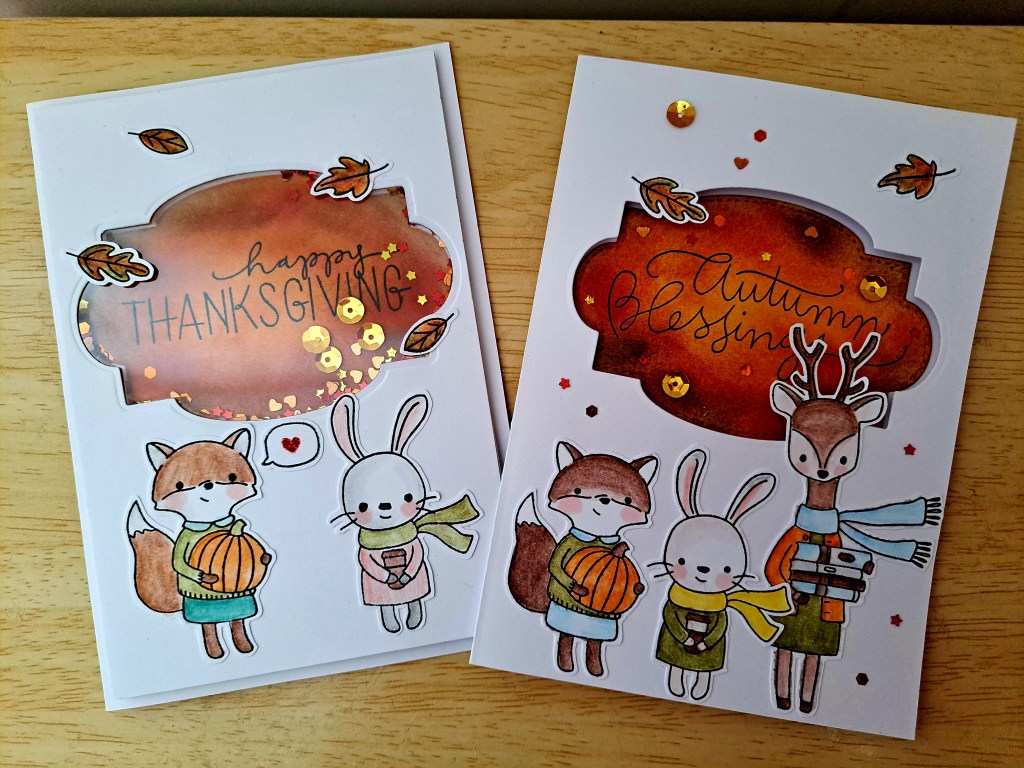
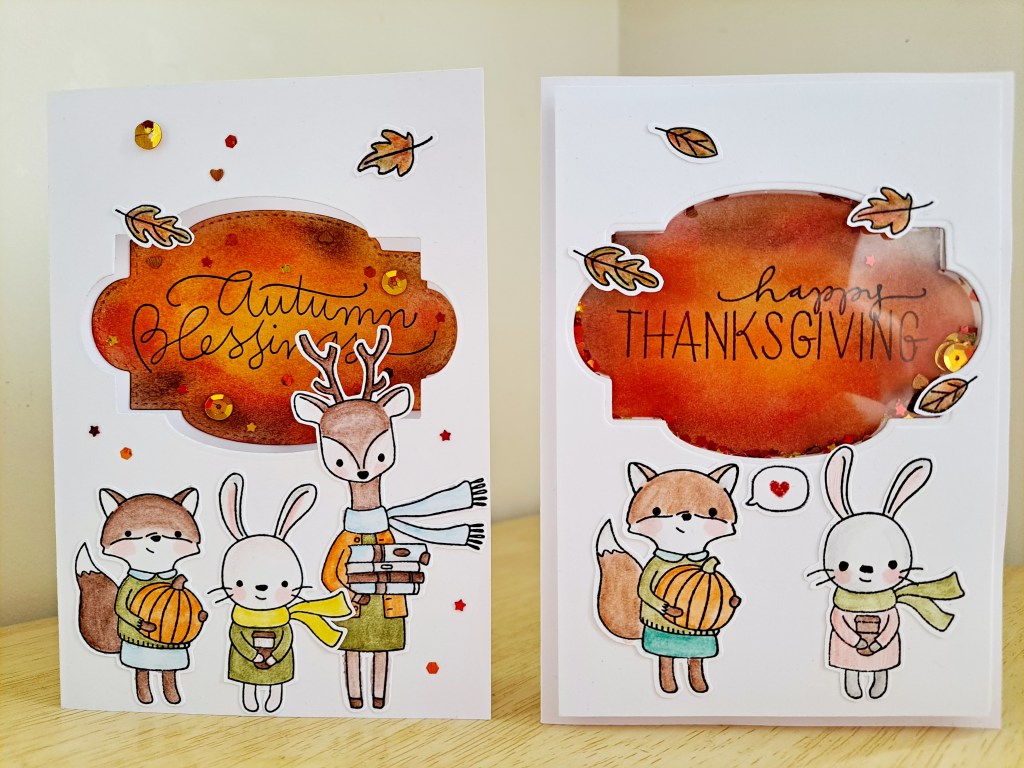
Anyway, the final step is finally putting the critters on your card. I discovered that deer was too tall for the shaker card so I had to exclude her from it.

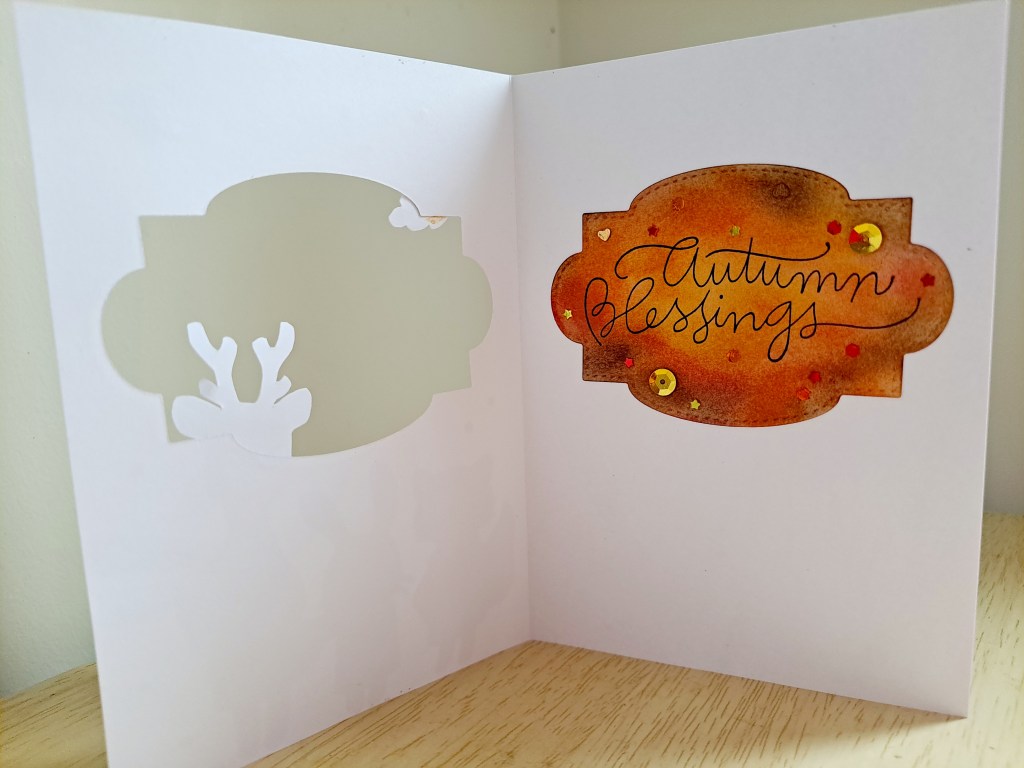
Meanwhile, all three critters looked perfect on the window card. Although the deer’s head was blocking a portion of the sentiment it was fine because when you open the card, you can still fully see the sentiment and that’s the idea with window cards.
I’m quite happy with how both cards turned out. Here they are!

gusto ko din mabigayan ng ganyan😍😍😍
LikeLike
Yes po ms. Mylene… next month hopefully ay mabunot po ang name mo… or like and share my posts on my Page and kapag po napili ka as top fan, automatic po I will send you a card 🥰
LikeLike